BMW X3
Welcome to the ultimate BMW X3 community
23.1KVIEWS
12REPLIES
4APPRECIATES
7ACTIVE PEOPLE
05-25-2025LAST POST
06-17-2019
06-17-2019
pin2 user avatar
pin2
New Member
United_States
11 REP
12 POSTS
Hello,


Hello, I needed some advise I am seeing oil build up (leak) looks like valve cover or just the gasket not too sure. I am planning to do this myself I have done valve cover gasket on previous MB E320 both inline and V6 so I am comfortable, however, this is the first time on BMW. (1) Should I do only the gasket or just go ahead and get a new valve cover too? (2) Do I need the RTV gasket maker along with the gasket? (3) Does anyone know where I can find a DIY for this with pictures? (4) Should I replace the spark plugs while I am doing this?


Attached are some pictures before and after wash for reference. I didn't get it in the picture but oil is settling on the engine mount on the bottom.


Thank You.


Pin2
An image attached to this post, provided by the posterAn image attached to this post, provided by the poster
Appreciate0
06-17-2019
06-17-2019
Wgosma user avatar
Wgosma
Colonel
United_States
1,074 REP
2.2K POSTS
Take a look here, www.newtis.info for detailed procedure; you should not need a new cover unless it's cracked; cracking is not real common, often occurs by mishandling upon removal. the covers are plastic so use care/go easy on removal.


Best to spend the money for genuine BMW gasket in this part purchase.

Part no. Info at Realoem.com website.
Appreciate2
06-17-2019
06-17-2019
TheCoolX3 user avatar
TheCoolX3
Lieutenant
183 REP
540 POSTS
I did this myself on a 135i. You are gonna want to use RTV ONLY as a glue to hold the gasket onto the valve cover. You do not need to replace the valve cover itself if it is not cracked or damaged.

If you have a VCG leak and have never changed the plugs, It is probably about time to do that as well. Really it is no extra work.

I can not stress enough to NOT use RTV to seal the gasket itself. It will cause it to seal unevenly and leak. The only time i'd use RTV is to hold the actual gasket to the VC, it likes to fall off when you are finagling it in there. Ensure that your mating surface is clean, brake clean on a paper towel will do the trick. Dont use too much or spray it in there because you do not want it to mix with your oil.

Be sure to cover any open ports with a towel. Do not want any screws falling in there and getting in your engine, Ive seen that happen a few times, it gets gnarly.

This overall is not a difficult task. There is a lot of wiring and foam that must be relocated to get the VC off, take lots of pictures so you have a reference when putting it back together.
Appreciate1
11-06-2019
11-06-2019
Mingstar88 user avatar
Mingstar88
First Lieutenant
Canada
93 REP
391 POSTS
hey OP, did you end up doing this? I think my small leak is related to the valve cover. my undercover has been capturing a small leak and eventually it would leak out out the drain plug cover. I already bought the VCG previously but now i think i should get the VC too due to it being plastic.
Appreciate0
11-06-2019
11-06-2019
Wgosma user avatar
Wgosma
Colonel
United_States
1,074 REP
2.2K POSTS
Hey CoolX3:
I'm doing the gasket on my N52 motor shortly- how does one remove the fuel injector electrical harness? I've read varying comments on this- one guy said simply lever/pull straight up at each connector, another person said the small metal clips need to be partially or completely removed to release the connectors. What say?
Thanks/Bill
An image attached to this post, provided by the poster
Appreciate0
11-12-2019
11-12-2019
tech10 user avatar
tech10
New Member
Canada
10 REP
20 POSTS
Hey,

This video explains most of steps i took.

Mine, N52 has clips for each injector which is not hard to unclip.

It is not necessary to remove it but I did because it is much easier to work.

I replaced valve cover gasket, valvetronic motor gasket and Eccentric Shaft Gasket

In addition, I replaced the head valve cover as well.

So far, I do not have any issues around it.

My engine has more than 160,000km with original water pump.

Hope this helps.
Appreciate0
11-12-2019
11-12-2019
Wgosma user avatar
Wgosma
Colonel
United_States
1,074 REP
2.2K POSTS
tech10: thanks, good video.

Interesting, looks like the guy did the job without removing the support bar, etc. - seems pretty tight to me working back at the firewall, did you do basically same as the video?

Injectors- so you removed each of the metal spring clips before pulling off the connectors, is that correct?
Thanks/Bill
Appreciate0
11-14-2019
11-14-2019
tech10 user avatar
tech10
New Member
Canada
10 REP
20 POSTS
Hi Bill,

Yes, I did remove the metal clips before pulling off the connections.
With small pick tool, it is not hard to do at all. Biggest challenge was removing the pipe from the back of valve cover(head cover). I used the small prey bar to push inside and use finger to push the other side to pull out. space is very tight but still doable.

Happy D.I.Y

Ryan
Appreciate0
11-14-2019
11-14-2019
Wgosma user avatar
Wgosma
Colonel
United_States
1,074 REP
2.2K POSTS
tech10 wrote
Hi Bill,

Yes, I did remove the metal clips before pulling off the connections.
With small pick tool, it is not hard to do at all. Biggest challenge was removing the pipe from the back of valve cover(head cover). I used the small prey bar to push inside and use finger to push the other side to pull out. space is very tight but still doable.

Happy D.I.Y

Ryan
Thanks Ryan...I think I'm going to remove the wiper arms, plastic cowling and the cross-brace bar when I do this, I have time and it's not that much extra work, will give much easier access near the firewall.

(local indy shop quoted me $850 for this job, ugh just too costly!)
Bill
Appreciate0
11-14-2019
11-14-2019
F30ed user avatar
F30ed
Second Lieutenant
73 REP
230 POSTS
Wgosma wrote
I think I'm going to remove the wiper arms, plastic cowling and the cross-brace bar when I do this
That is what I did when replacing spark plugs. After that room is comfortable to work on the back.
Appreciate0
11-15-2019
11-15-2019
tech10 user avatar
tech10
New Member
Canada
10 REP
20 POSTS
Hi Bill,

Removing corss bar is not a big deal to do but cowing maybe tricky. What I read from the manual, you need some kind of tool to pull out the wiper arms. BMW has special tool because of the hood open position.
you may consider to buy it such as this.
https://www.princessauto.com/en/detail/3-1-2-in-2-jaw-gear-puller/A-p8743783e

let me know how you remove it and add some pictures here from your work. I thought I need to remove cowling when I replace the front strut but I do not need to remove the cowling.
I will just remove small panel attached to the cowling to access one of three bolts on the strut top mount.

Enjoy your work!!

Ryan
Appreciate0
11-23-2019
11-23-2019
Wgosma user avatar
Wgosma
Colonel
United_States
1,074 REP
2.2K POSTS
2012 model year car w/N52 I-6 (non-turbo) motor.

Attached a couple of DIY pic's, I did the gasket replacement this past week - most info self-explanatory, here's a few comments on the job:

- Use Genuine BMW parts on this job

- Remove the front plastic underbelly pan from under the motor; if you drop something (wrench, bolt, etc.) you can retrieve from your garage floor.

- Cover removal: you may well be able to get the cover out w/o removing the fuel injector's plastic electrical 'conduit' but you may find as I did that re-installation requires getting that injector conduit out to provide enough room for the cover to be fitted - to disconnect the connectors from the injectors allowing conduit removal one must remove 6 small metal spring clips, it's doable but not a lot of fun.

Go easy if your cover feels really 'glued' to the head, mine was - the hardened plastic gasket can do this - if you need to pry cover a bit, start at the front R-corner and be VERY gentile, don't use any metal tools as you run risk of scratching the aluminum head's surface. But before you pry, try a plastic razor blade or similar to unseat the gasket.

- New Gasket: you might consider using some silicone or similar product to 'tack' seal the new gasket to the cover at the far end of the cover, i.e. near the firewall end. You're working nearly blind back at the firewall and virtually impossible to see if the gasket is seated properly, getting the cover in place without disturbing the gasket takes patience, but can be done. I used no silicone, but after cover was in place I probed the gasket gently with a pic to insure it was in place along the area I could not visually see.

Breather hose: located at rear of cover (firewall area) - look at the pic, go EASY squeezing this plastic round/oval fastener when disconnecting the hose as this stuff is plastic and will get bit brittle w/age.

- Cover install: remove the small bracket (2 torx head bolts) at the rear of the cover, this bracket has one female threaded hole and is used to support/secure the motor's vanity cover bracket. This may seem small point but trust me, that little bracket really limits your ability to maneuver the rear of the cover into place. Painful to reinstall bracket w/cover on the head, but doable - worked for me.

Good luck if you DIY this one - it's really not difficult but does take some time, and patience helps a lot too. Post or PM me if you have questions.

Video below by another person but worth a look.

(Shop labor charge for this job is about U.S. $750)

Happy motoring / Bill


Video link:
An image attached to this post, provided by the posterAn image attached to this post, provided by the posterAn image attached to this post, provided by the posterAn image attached to this post, provided by the poster
Appreciate0
05-25-2025
05-25-2025
qx user avatar
qx
Lieutenant
209 REP
538 POSTS
(using a cropped stock n55 photo lifted from i don't recall, not bothering with punctuation for this brain-dump post of what i ran in to recently)

check for valvetronic codes before the job, or later wonder if you broke something or maybe discover that it turns out that a previous owner set it to max lift (in my case 190 degrees via scanner confirmed later)

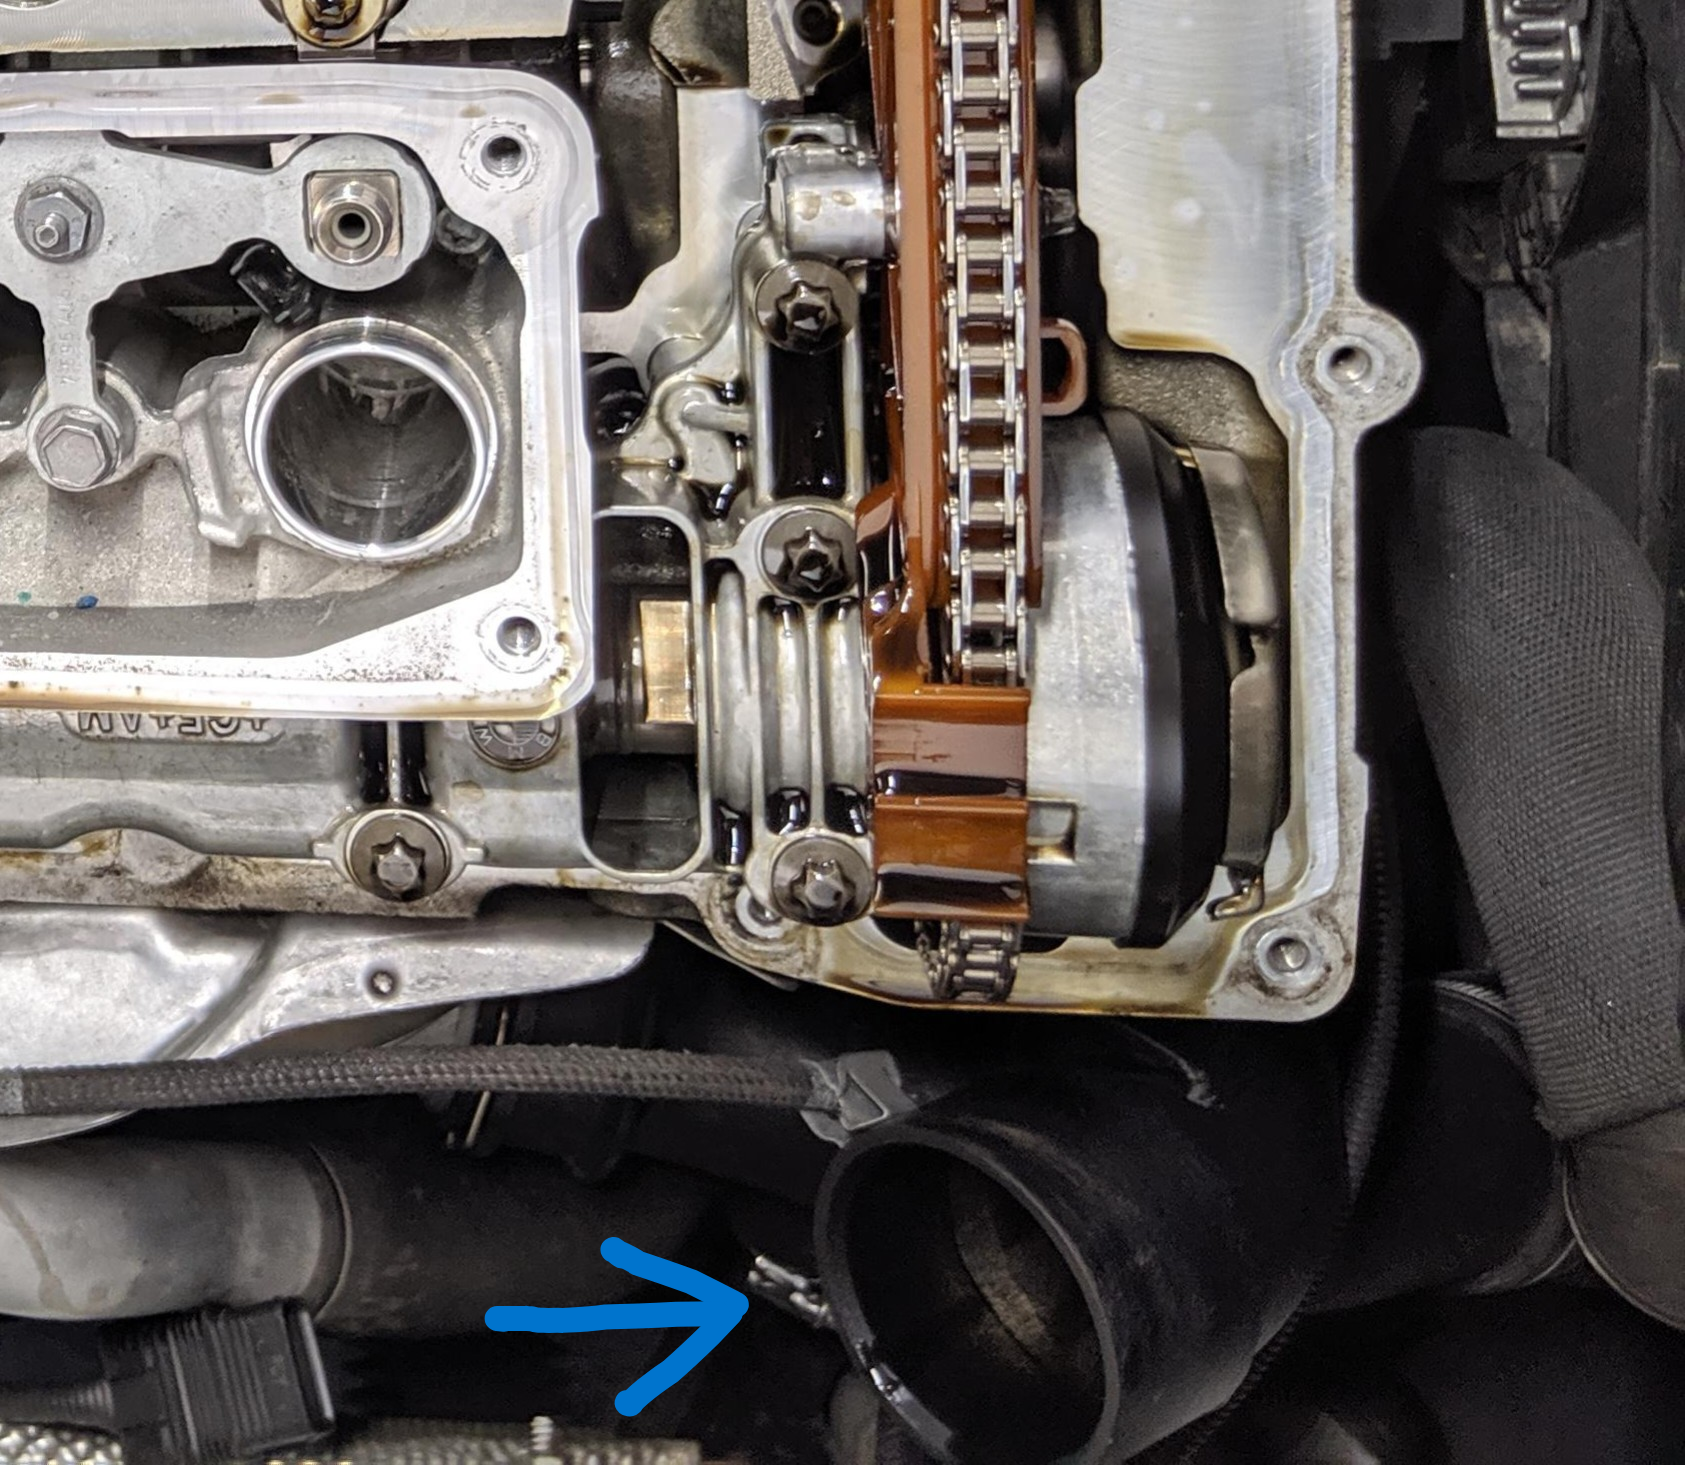
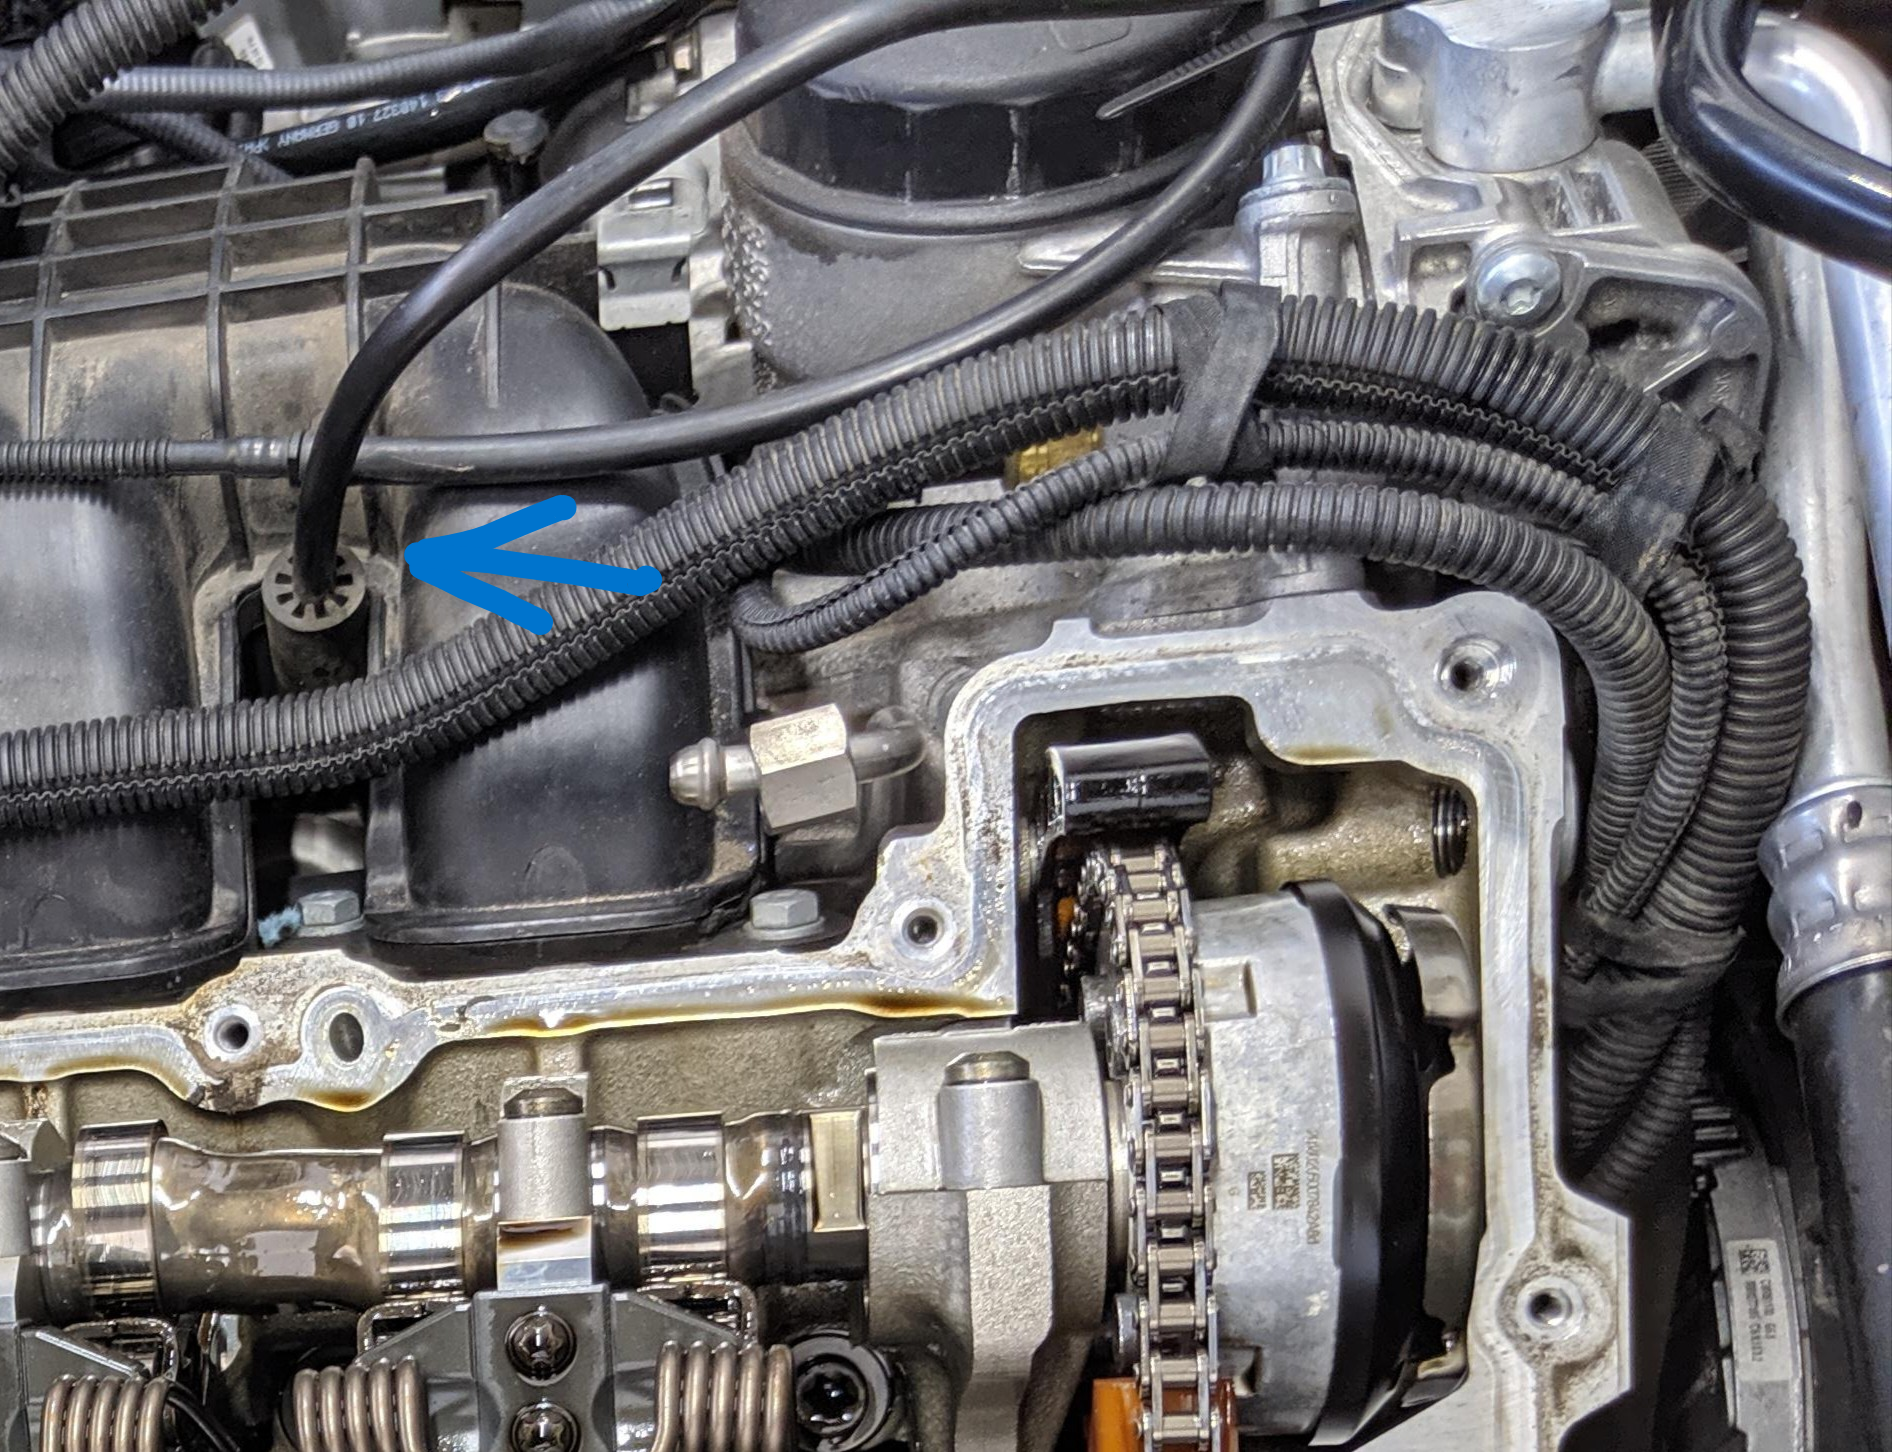
plug the turbo inlet with a large rag, before anything else, or waste hours worried you dropped something in there, buy a borescope for $100, not find the dropped item until weeks later, but fall in love with the scope (i pulled on the wastegate connector spring instead of pushing, found it nearer the wheel)

An image attached to this post, provided by the poster

shop vac in there around plug wells

use glove tips to cap fuel fittings, but use rubber bands with a knot tied in the middle because some glove materials fall off (knotted band is way faster and more secure than unknotted, due to less bulk) - if you are sloppy, fuel degrades the bands rapidly so check them out every so often

put a zip tie under fuel rail connection nut so it doesn't fall toward low front of engine

An image attached to this post, provided by the poster

i like to use green zip ties everywhere so i can see them

wiggle each vc bolt by hand up and down, to make sure the captured bolts are fully unthreaded

lever off the old gasket using ofh boss, not letting pry tool touch the head

An image attached to this post, provided by the poster

put old vc in a kitchen garbage bag straight away, the vacuum reservoir might be full of oil - keep it a couple months for follow up questions

don't throw away weight on existing vc, if you have it (mine was/is missing)

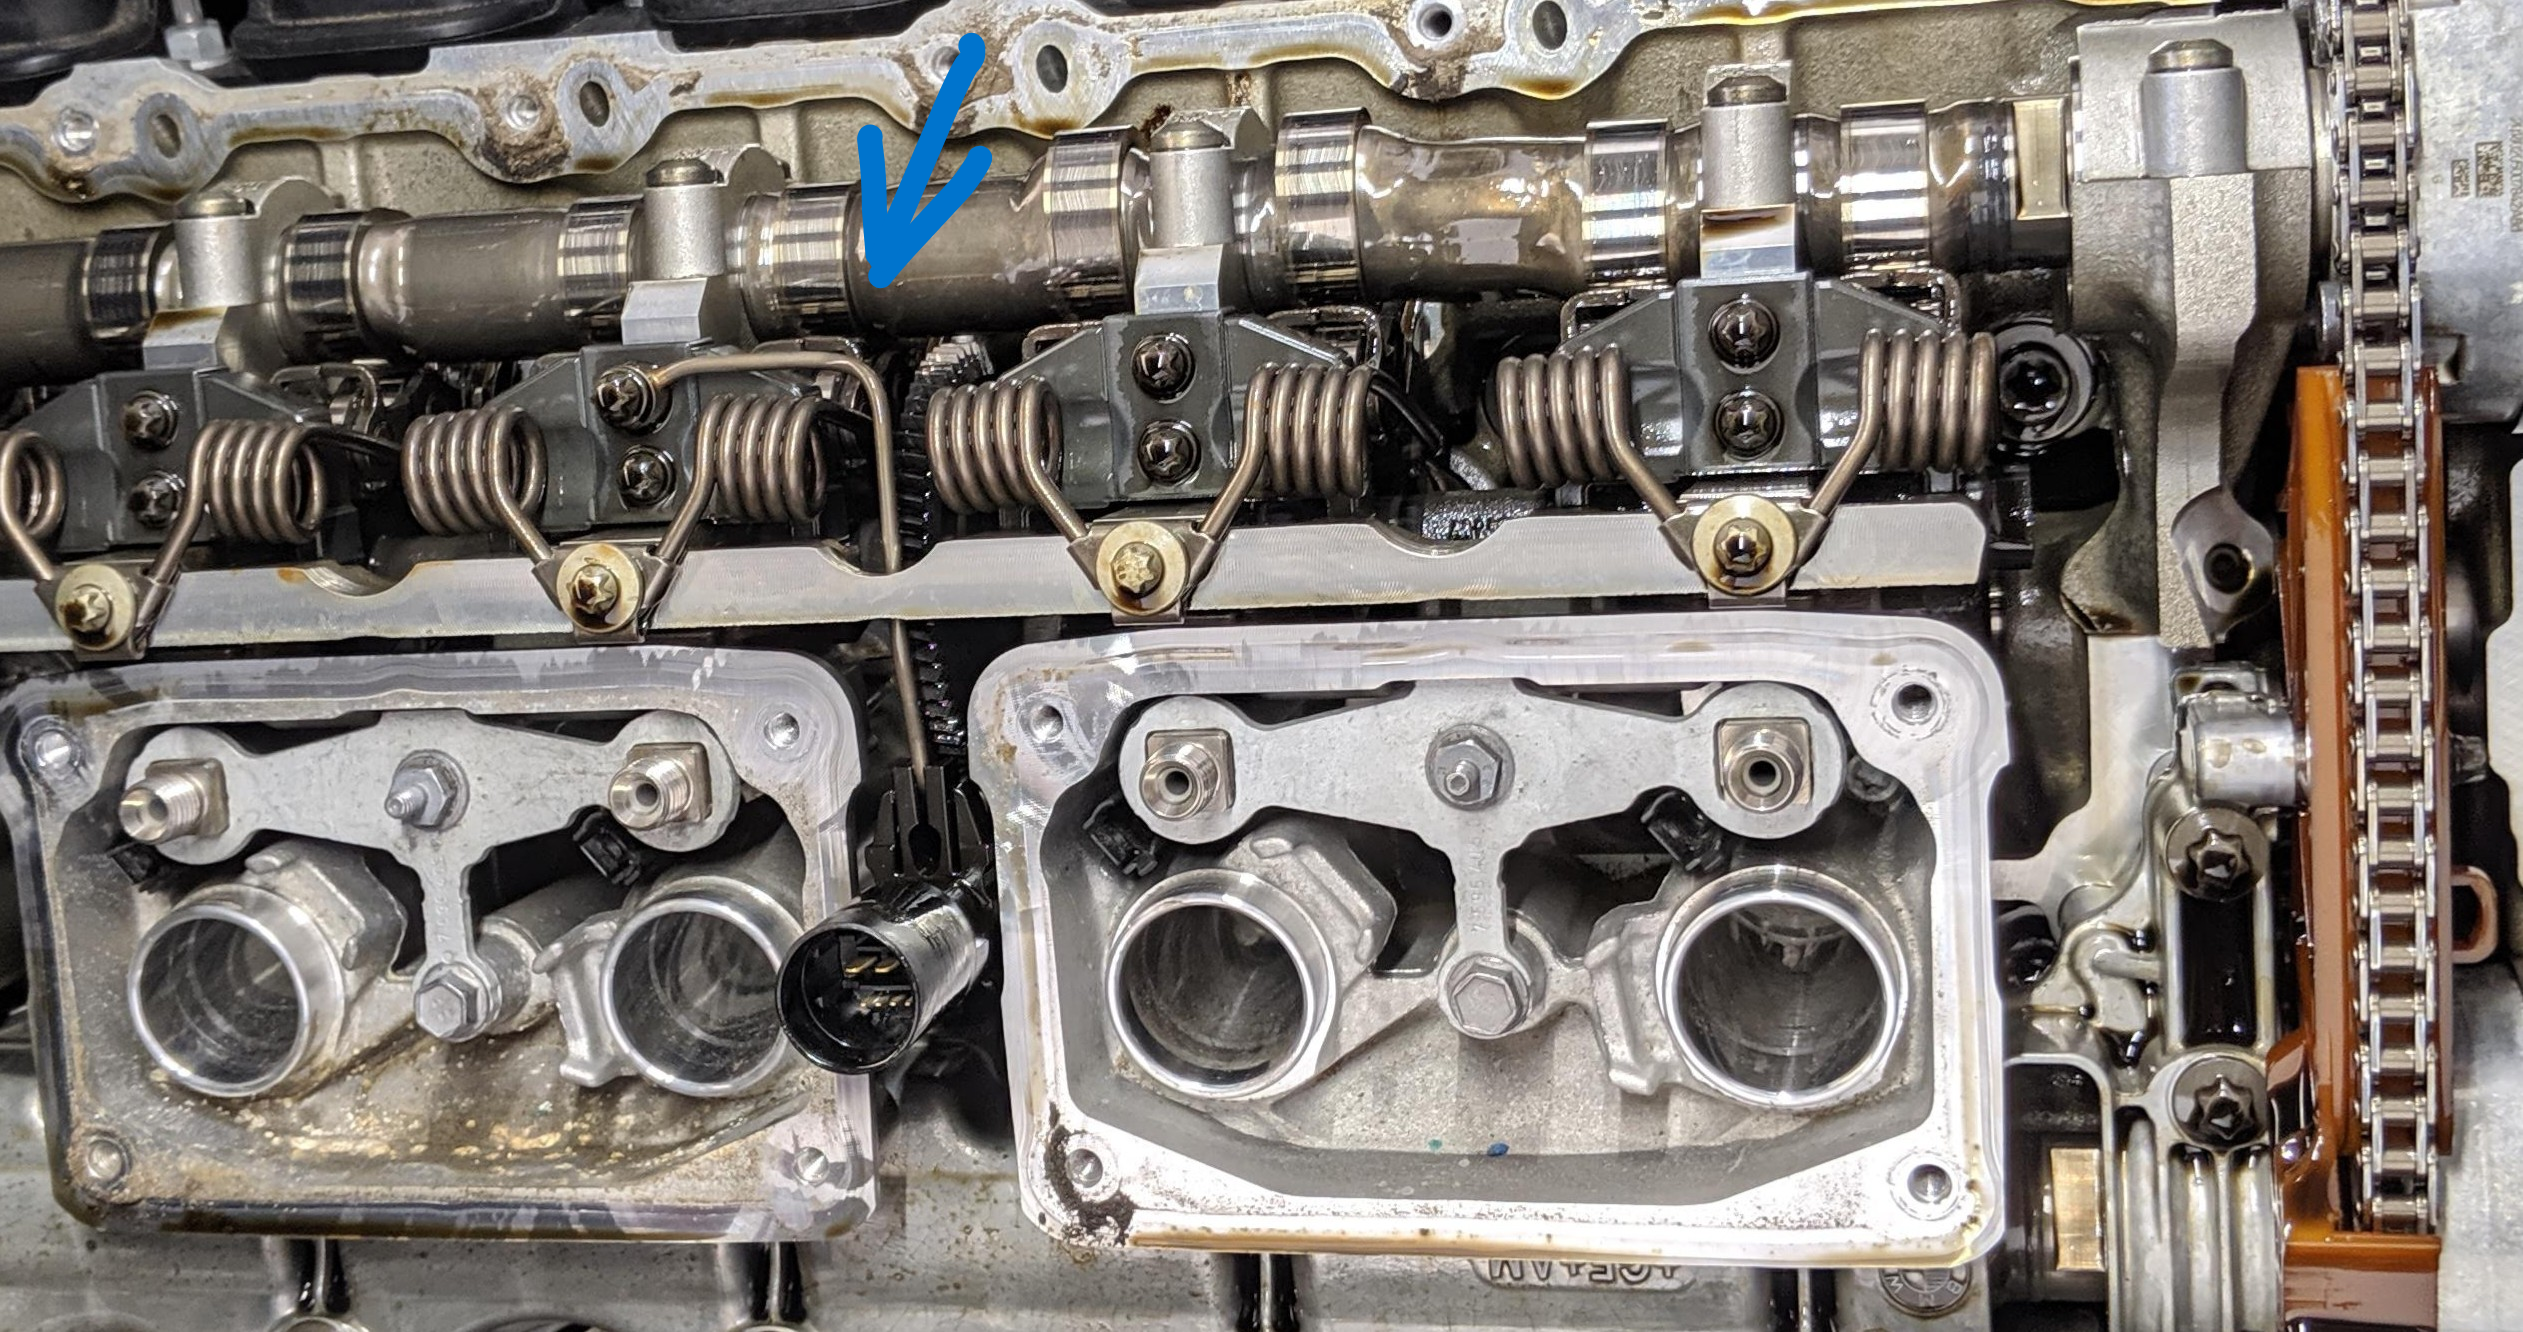
remove and clean the valvetronic oil squirter, takes five minutes

An image attached to this post, provided by the poster

take more pictures than you think you'd want while the cover is off, from different angles - you might have questions later unrelated to reassembly

maybe re-torque exhaust cam ledge bolts, this is more work for sure and replacement gaskets (i might be doing this soon, which means redoing the valve cover gasket, replacing fairly new seals)

don't crimp the exhaust vacuum hose behind the engine while fitting new cover

attachment.php?attachmentid=3700375&d=1743472926

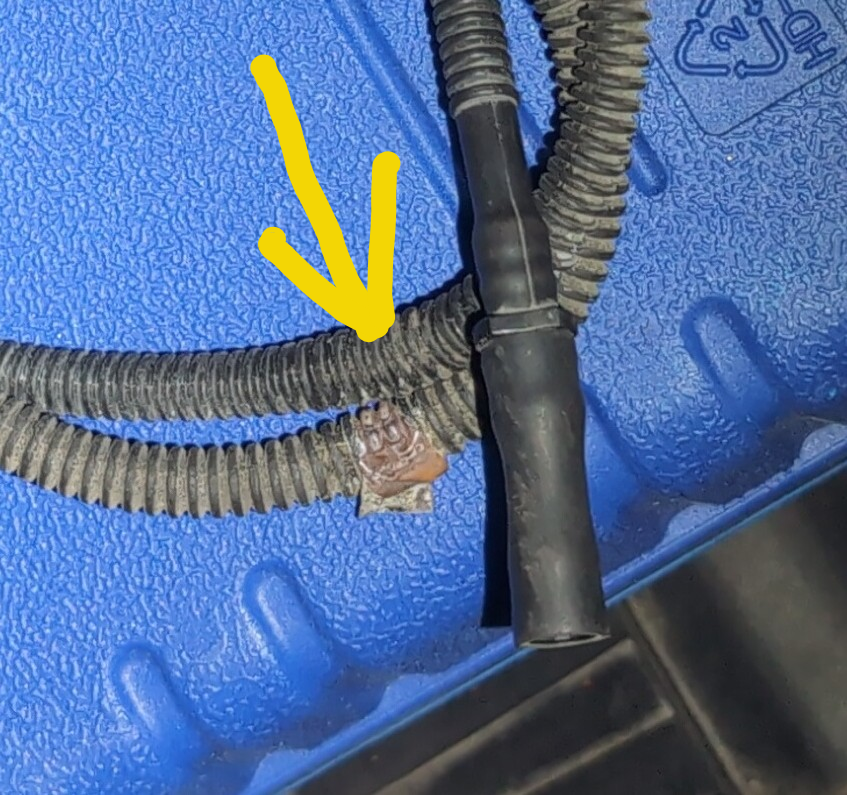
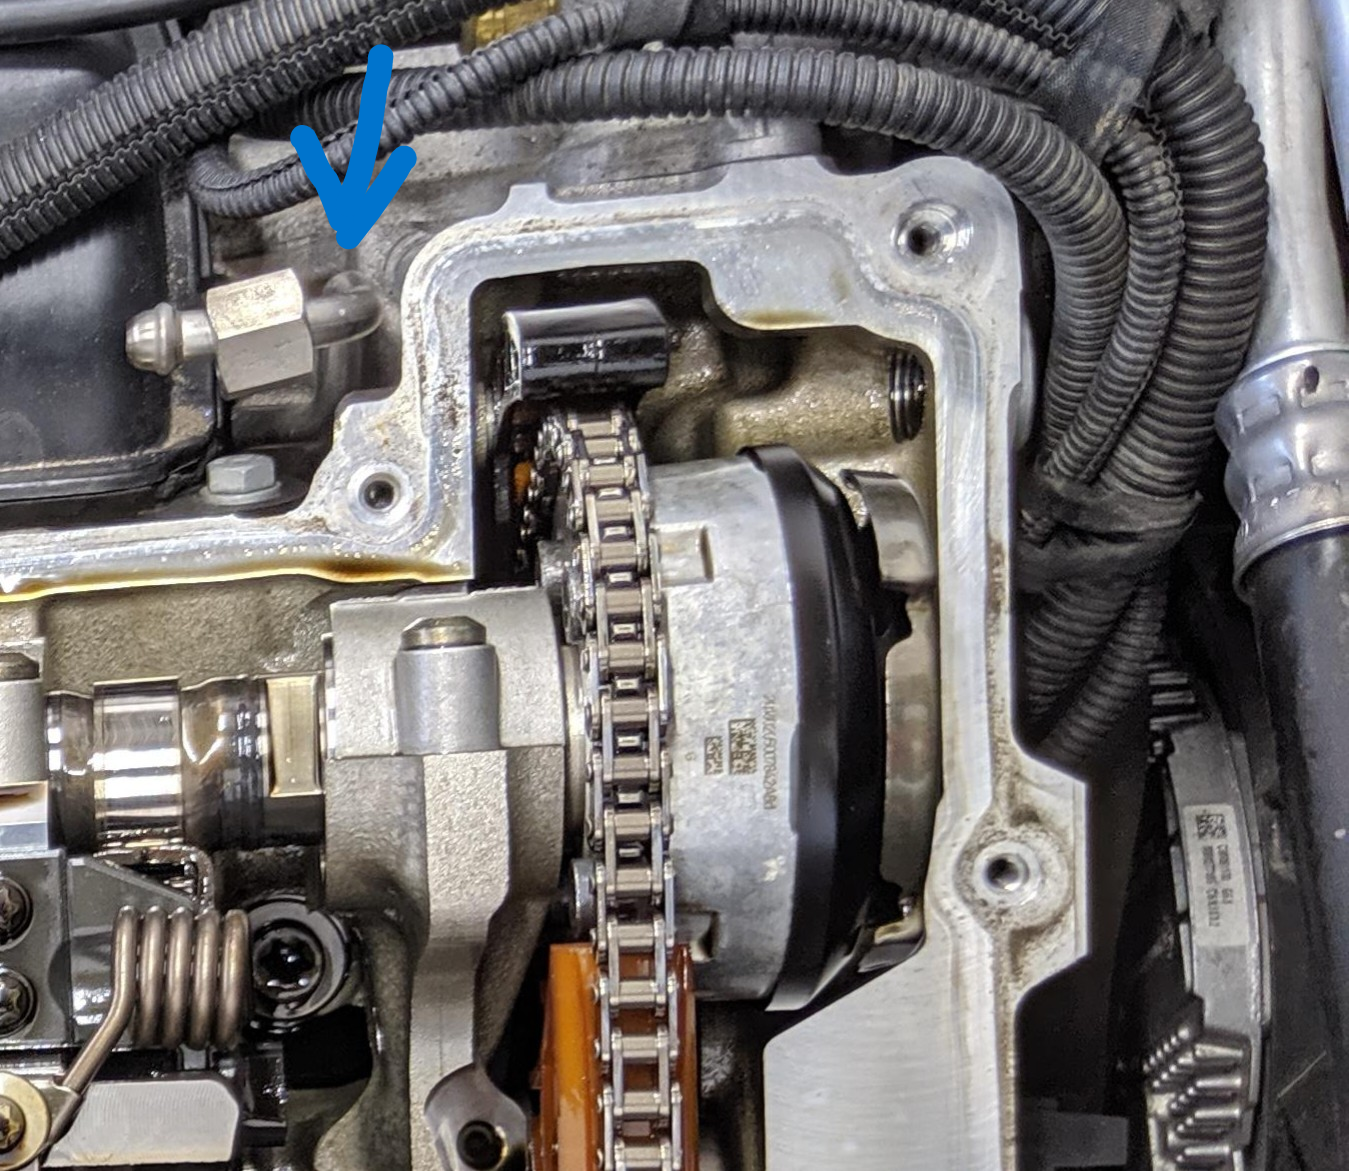
replace the engine vacuum check valve, for a few bucks preventatively, using "vacuum repair kit", with ease with only airbox removed

An image attached to this post, provided by the poster

test pwg actuator and exhaust flap once cover is back on

next few weeks/months/forever, don't let oil drip off oil fill hole or cap to then later think that you have a leak bottom left

i used a cheap aftermarket aluminum vc based on a youtube review, the gasket was pre-glued to the cover but all the bolts came in a bag instead of being "captured" by the vc itself
Appreciate1