
BrockDM wroteNice job.Active Autowerke 3.5" Single Midpipe!
I was hoping AA would make an exhaust suite for the X3M so I was pretty excited when I saw this release. They have a great understanding of BMW's and tailoring exhaust notes which had them high on my list.
When the box arrived, everything was packed very well. These units appear to be very well made and the overall quality seems top notch. The welds are very nice, nothing looks out of place, no dents or dings etc. Very pleased with the unboxing experience and product itself.
Install:
I tackled the install alone in my garage and it was very manageable. I would say a 2/5 in terms of difficulty. I used wheel cribs to prop the rear of vehicle a little higher to give me some extra room. Being lowered almost 2" on coilvers didn't help this one ha.
- The whole process is very straight forward. You need to remove the two plastic shrouds located just in front of each rear wheel. There were a dozen or so 8mm bolts, 2 of which are in the wheel well and a single 10mm plastic nut holding the plastic shroud to a fabric one.
- With those out of the way, you can access the aluminum chassis brace which also needs to be removed. There are another dozen 13mm bolts holding this on. You will need to remove them all to drop it out of the way.
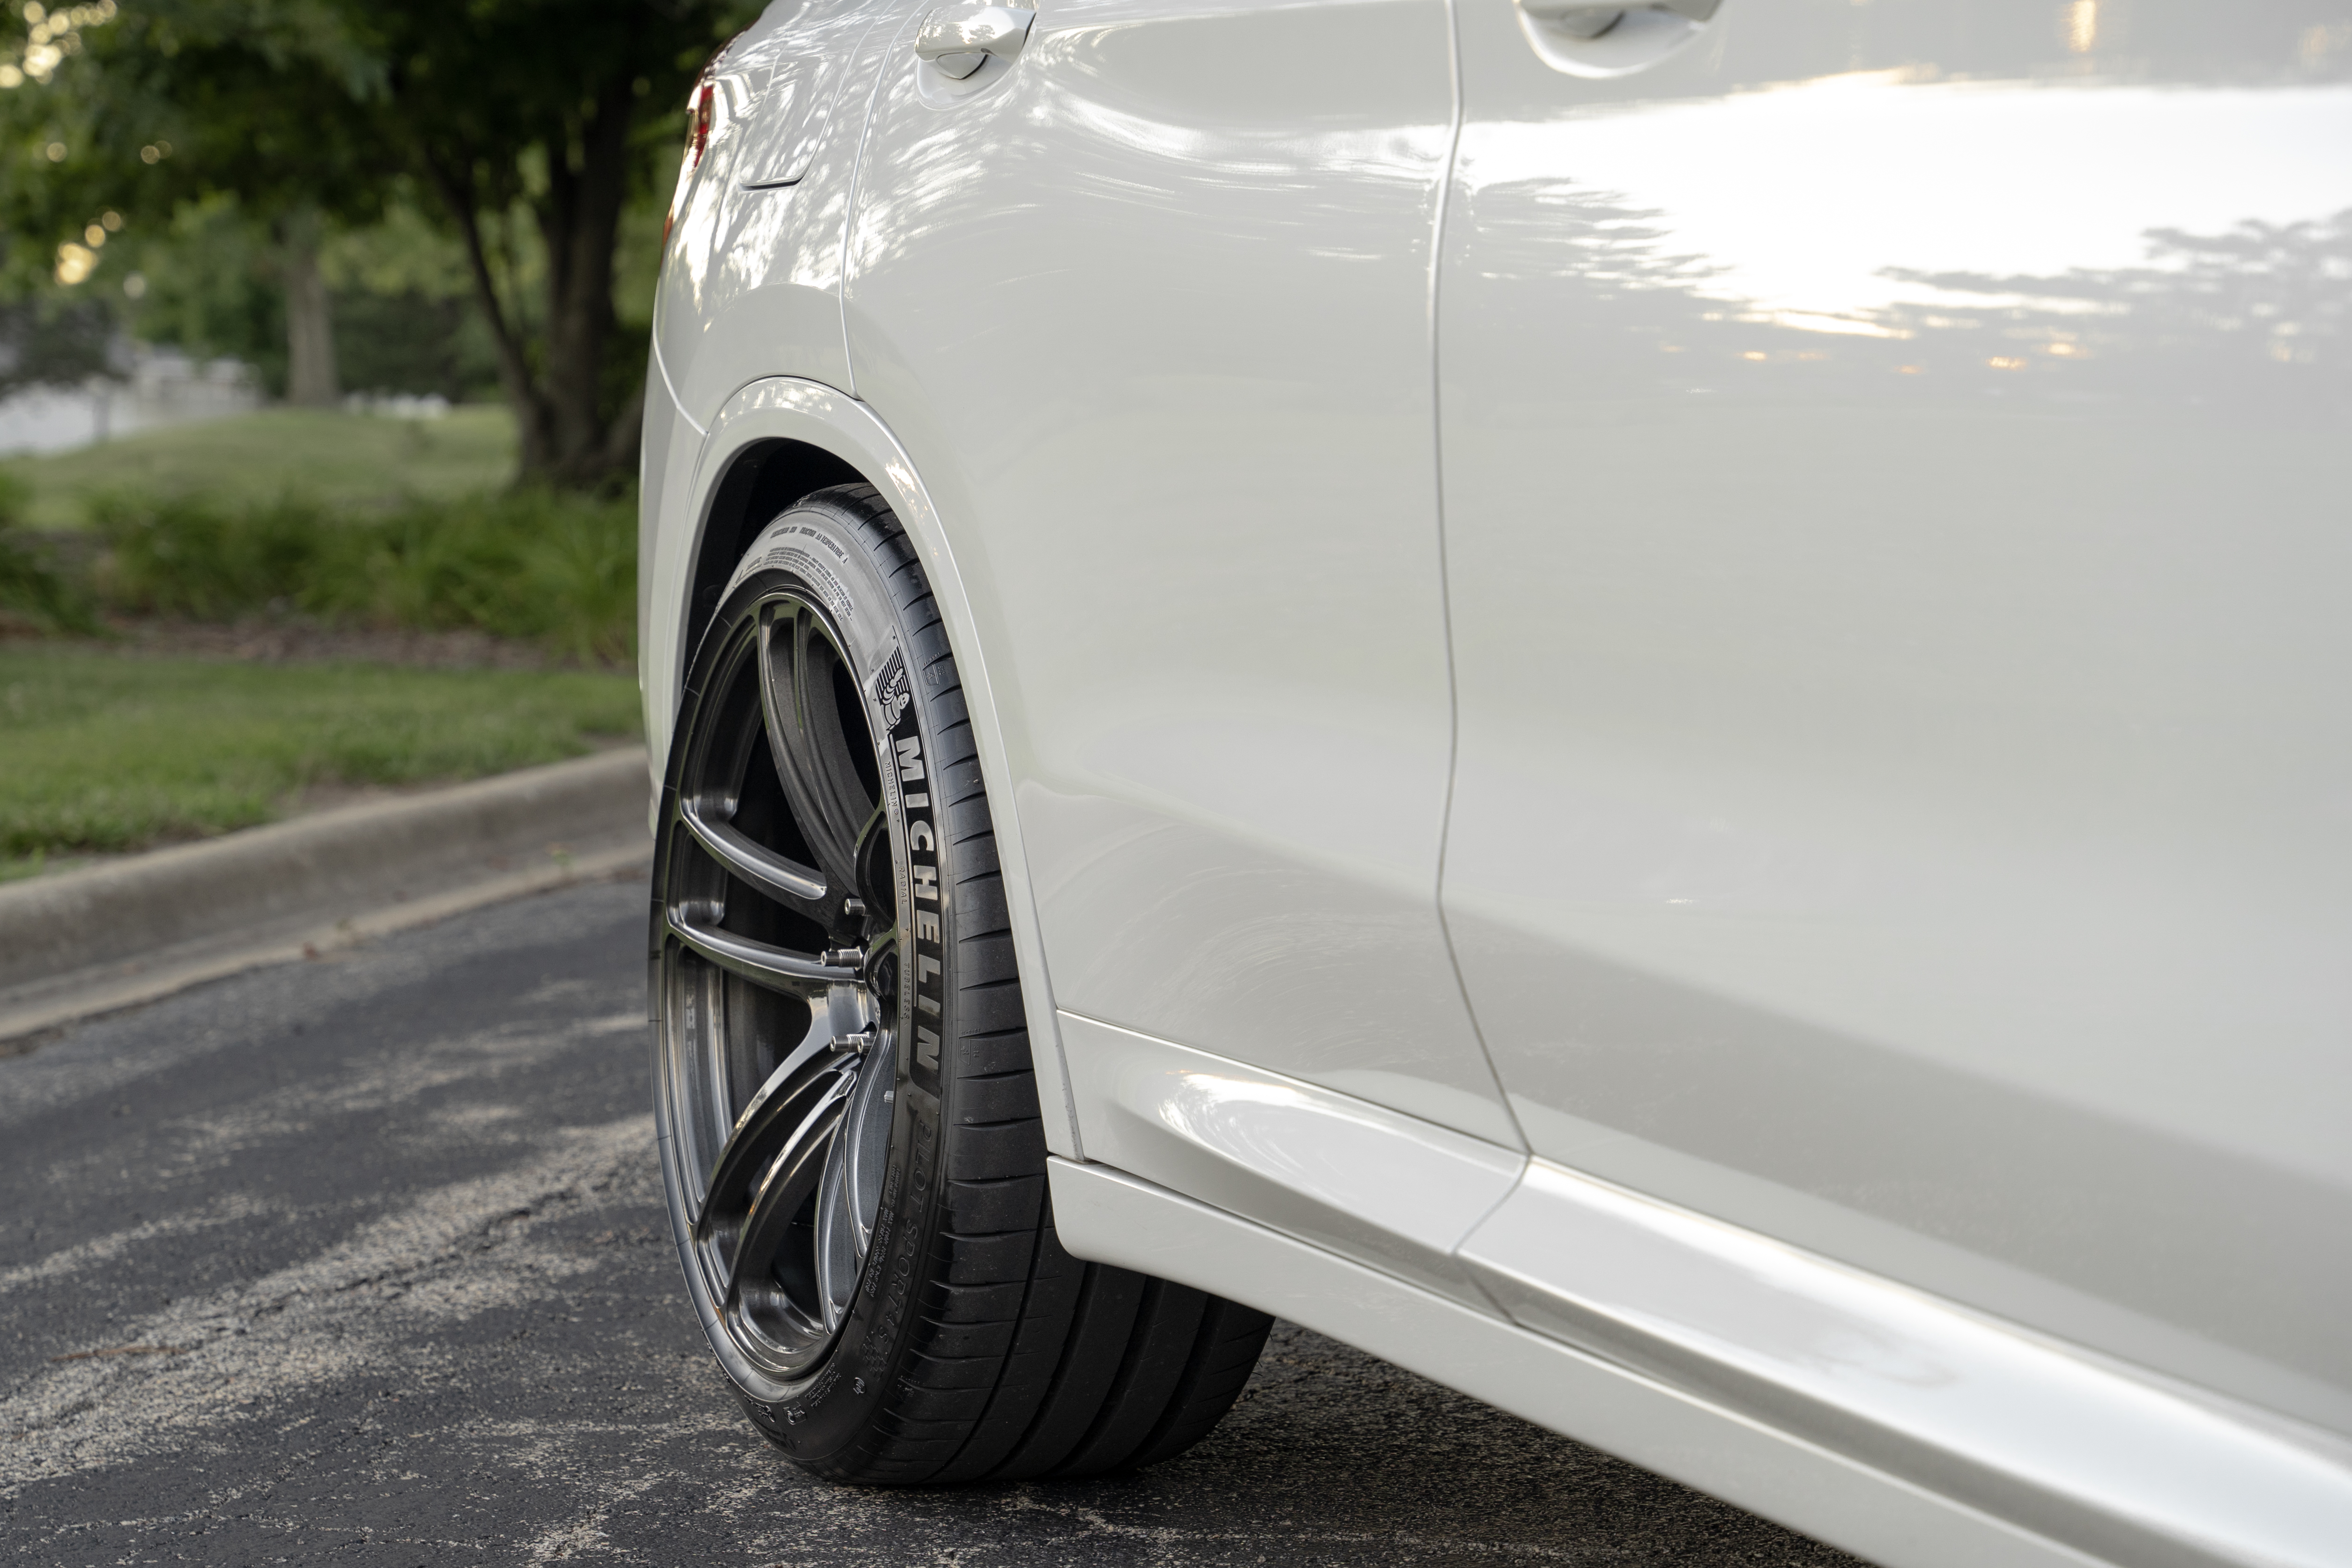
- Now with full access to the mid section you can start cutting. There is a single dimple just after the resonator on each side. This is where you will cut. You can reference my photos below and see but it's pretty easy to locate and identify. I chose to use an exhaust pipe cutter given the limited space and ease of use. It took maybe 2-3 mins of rotation but it came off very ease and very clean. I would recommend buying a new one before tackling since these dull out after the first couple uses and become much harder to cut.
- After both sides are cut you can start unbolting the exhaust. 4 nuts attached to the downpipe and 1 on a hanger near the downpipe flange. I used a jack to hold the rear section of the midpipe up while I unbolted the front. It came right out with no fuss.
Installing the AA pipe in the reverse order required nothing special. I attached the two short pipes with a little play in them so I could maneuver them as needed. Make sure you tuck the midpipe up as high as you can so you have plenty of clearance from the chassis brace. Tighten everything down and you're good to go. Fitment was spot on and I had no issues aligning anything up. Nothing needed excessive force or adjusting, it literally pushed up into place with ease.
Before lowering the car down I started it and checked all connections for leaks. Once I confirmed none I buttoned the brace and panels back up and took it for a spin.
Sound Impressions:
Valves closed-
I noticed right away that with the valves closed on start up it's only marginally louder than stock which is perfect. I want quiet starts in the morning so my neighbors don't hate me. Driving around town in Efficient with the valves closed is very tamed. Marginally louder than stock when accelerating under normal conditions but once it's under WOT you can start to tell it sounds different. The note sounds very OEM just enhanced. It doesn't sound raspy and has a slightly deeper tone but very OEM. Took it on the highway for a short drive and I didn't hear any drone at all. Like literally zero. This is probably the best part of this whole kit. I hate modifying exhausts that sound great when you want them to but suck when you want things quite. This isn't that.
Valves open-
Going into Sport Plus you can instantly hear the growl and rumble. It has a nice deep tone with many of the characteristics of the OEM exhaust still present and yet again enhanced and amplified. Under 3500rpm the car is still tamed but has a known presence vs stock. It isn't obnoxious but it's also not quiet. A very nice balance of sound is the best way to describe it.
Under WOT this thing sounds rowdy hahah! It really starts to sing but it doesn't get raspy at all. It has the signature characteristics of a straight 6 exhaust note with a pitch that gets higher as the revs climb but it's not a tin can raspy sound. I would say this is probably boarder line as loud as you can get without introducing rasp with the factory exhaust. You can sorta tell it's right at the cusp of getting raspy but falls short.
Crackles on revs and deceleration are very pronounced. I had the OTS 93 tune flashed from BM3 with the OTS burbles and it crackles like crazy haha. They are deep and aggressive sounding even with the stock downpipes. A little much for me but luckily I can adjust them. The downshifts are intoxicating and I find myself driving in manual much more often now ha. There is an aggressive crack on upshifts too, more pronounced than before. You'll hear them in the video below.
Overall I'm very pleased with this one. It brings you noise, with no drone, and mitigates any rasp. Hard to really ask for much else.
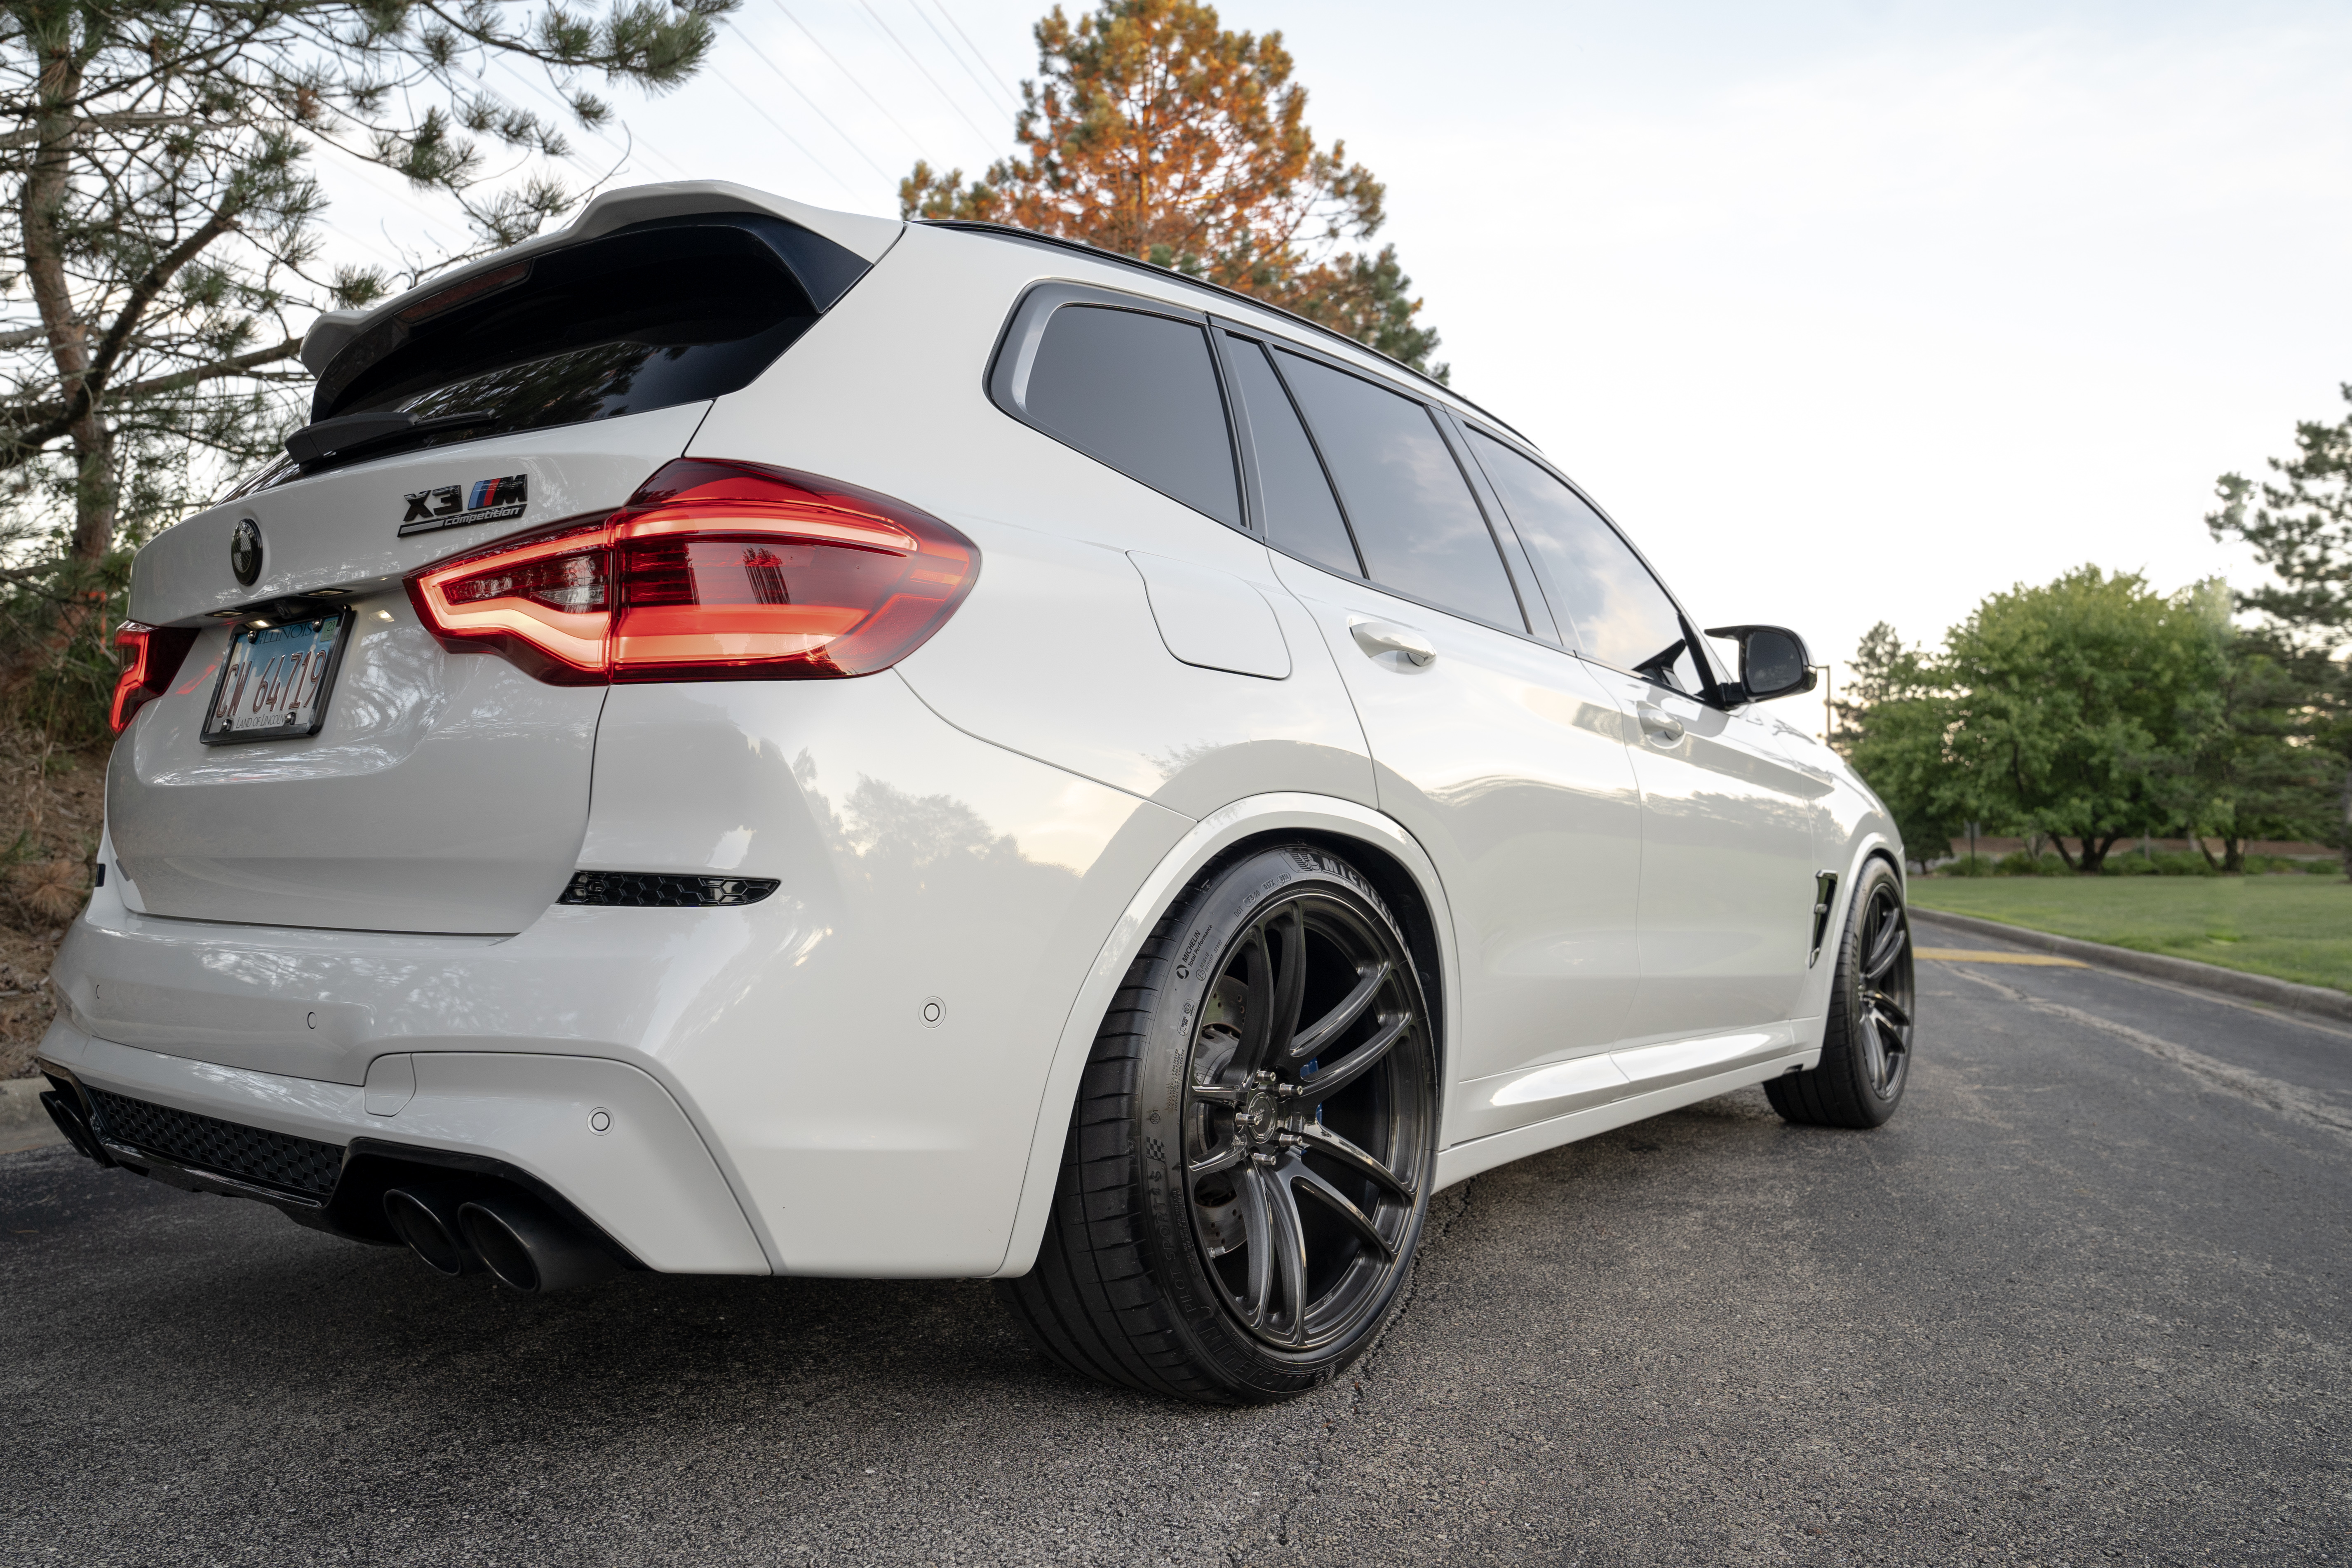
This unit also sheds 12lbs from the factory midpipe setup.
See below for a before and after video. I'm running stock downpipes and stock rear muffler.


Do you feel any low end loss due to single midpipe?
Also, how do you like that connecting clamp? I've installed couple AA midpipe on G8x M3/M4 with that clamp, it leaks. Tighten it all the way and still leaks, so I have to change it to Vibrant clamp.