I finished this project today and thought I'd put together a thread with all the info on how to do it and what's needed. I hated that stupid phone cradle in the center console, so when I found the part number for the storage compartment without that I got pretty excited. When I had my iPhone 4S I had the snap-in adapter, and even then I never really used it. I have an iPhone 5 now so no adapter, if they ever release an iPhone 5 adapter maybe I'll put it back in, but to be honest plugging in the USB cable is just as easy.
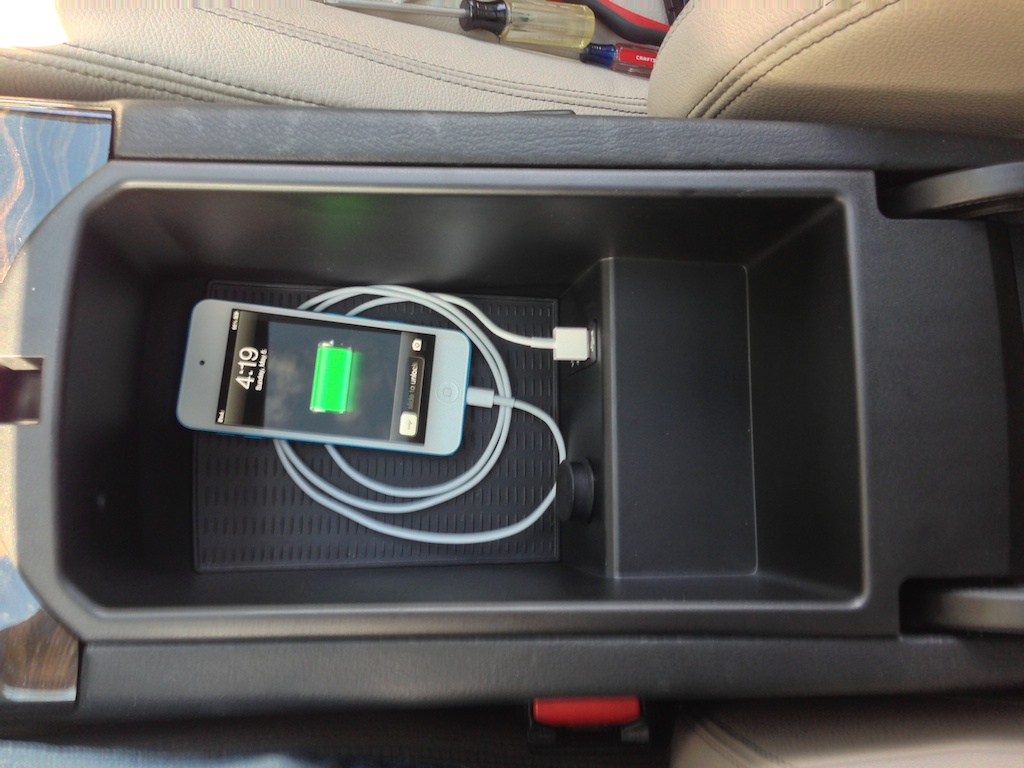
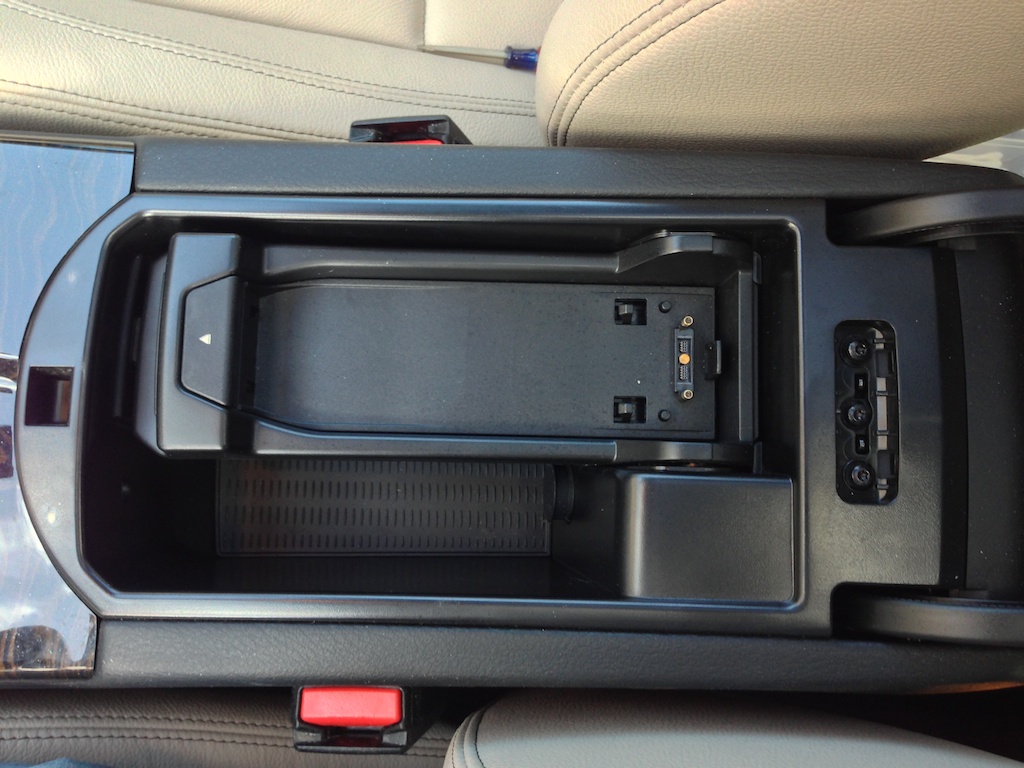
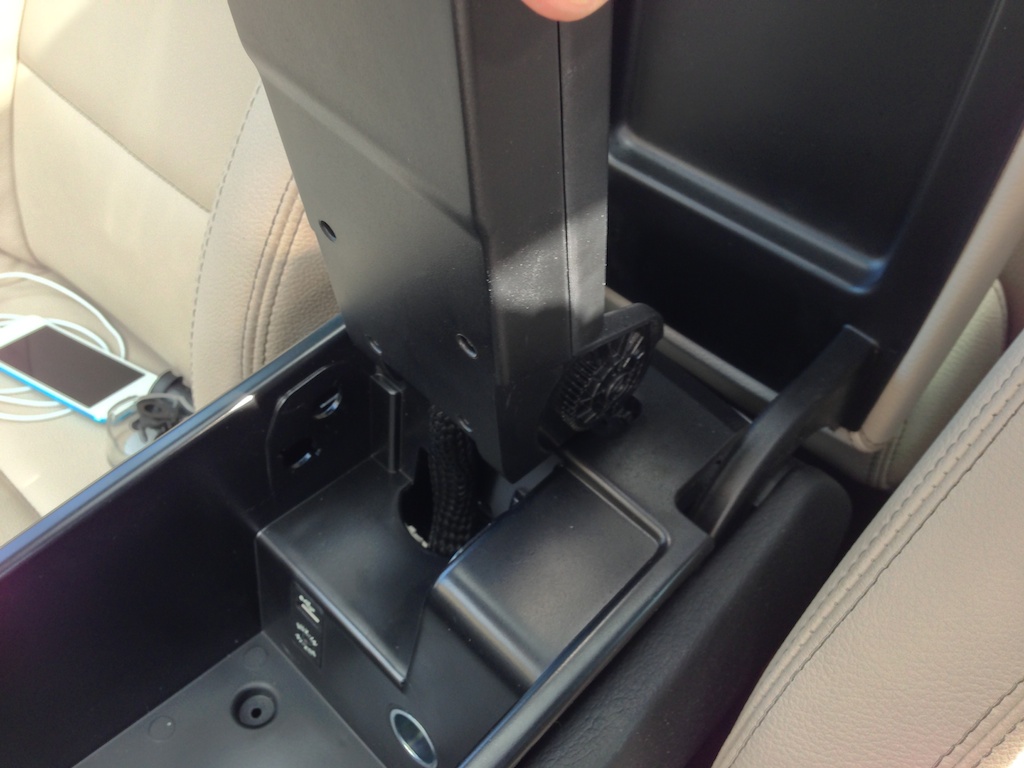
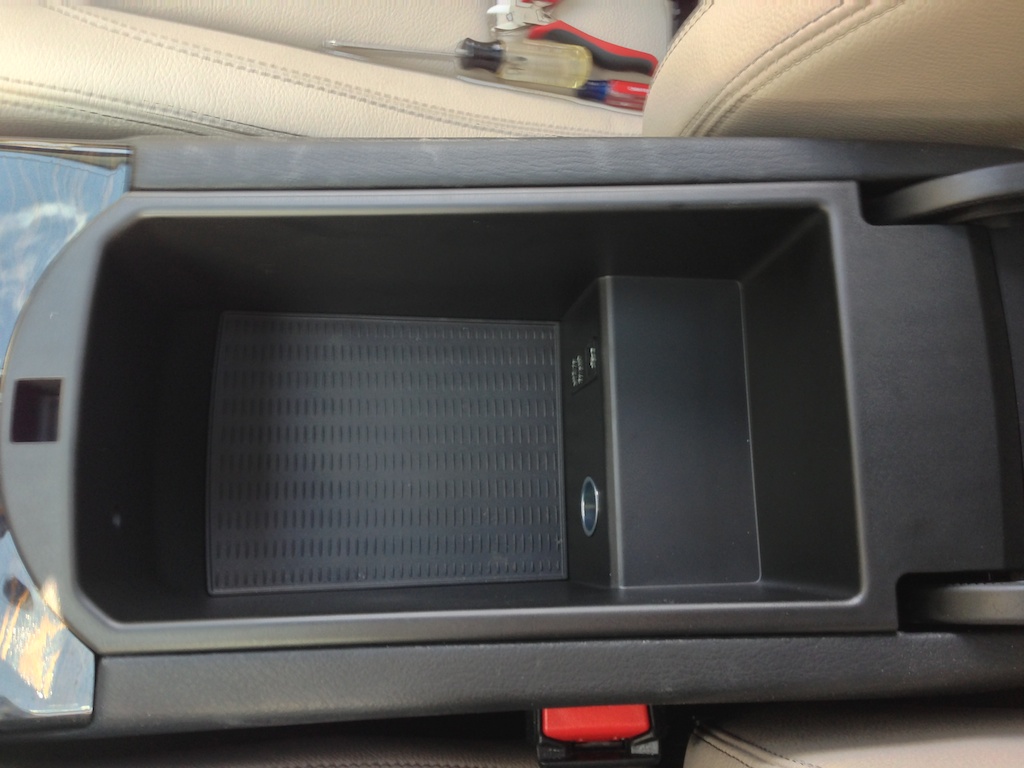
The idea is to go from this:

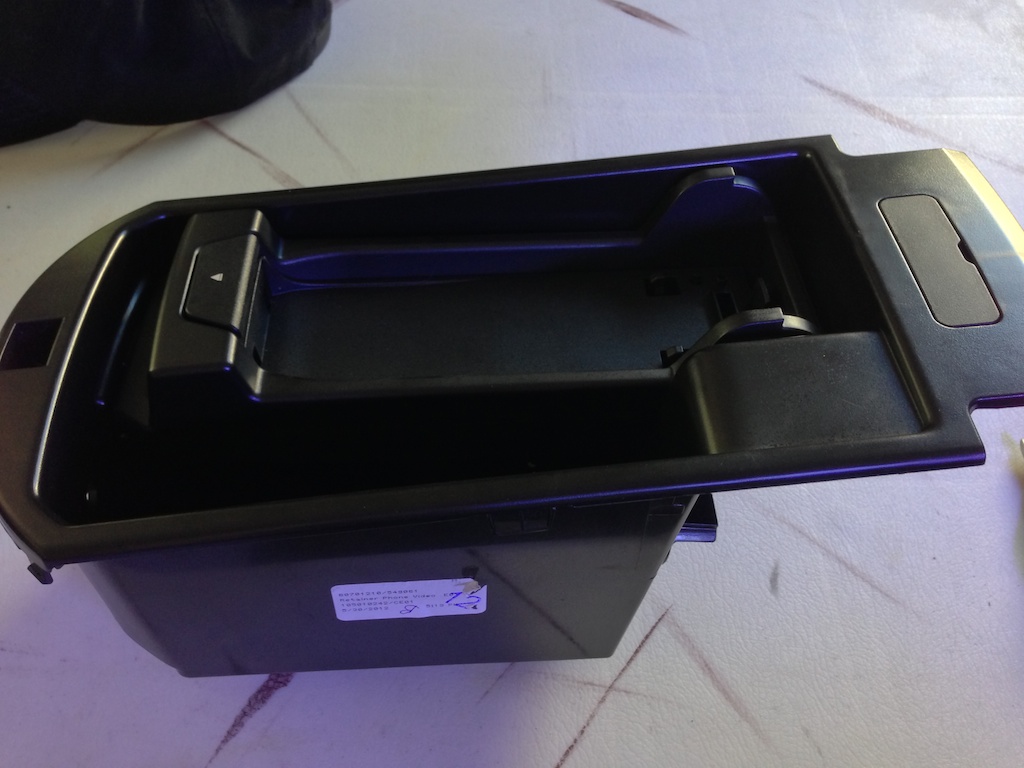
To this:
Anyway, here we go.
This is a pretty easy job and only takes about 20-30 minutes. I think I took a bit longer, but I was taking pictures and figuring out some stuff as I went. There are two ways you can do this. The way I did it was by ordering the center console liner that doesn't have the phone tray built-in. It wasn't very expensive, and I think it looks more professional using the real part. The other way is to just remove the tray and use a tape or something else to fill the holes in your existing console. I'll specify in my instructions where they would be different depending on how you do it.
Things you'll need
Parts
If you want to go the route I did and replace the console, you'll need to order this:
BMW Part # 51 16 9 184 500
I ordered this from thebmwpartstore.com and it was less than $50 including shipping and came within a week. That seemed to be the best price I could find.
If you're going to just tape or otherwise fill in the holes in your existing cubby, you don't need any additional parts.
Tools
The only tools you need are:
- Small flathead screwdriver
- Torx Driver T20
- Torx Driver T10
- Small nippers
- Dremel with cutoff wheel (if you're replacing the cubby)
 Original Instructions Attribution
I found some instructions that were translated from another language, and they helped me through this. If you're interested in reading them, they are available here:
http://x3.xbimmers.com/forums/showthread.php?t=733386
Liability
These instructions probably shouldn't be followed by anyone, ever. If you decide you want to try following the steps outlined below, and you screw something up, it's not my fault.
Steps
Step 1
Start by removing the small plastic cover towards the back of the cubby with the flathead. It should pop off easily. Remove the 3 T20 screws underneath.
 Step 2
Lift up the phone cradle and pull out the rubber false bottom, it should come right up. Remove the 4 T20 screws that have been exposed.
 Step 3
We need to pop the cubby out of the console, and it snaps in place pretty good. Be careful when you're doing this, if the cubby pushes forward too far you could chip the wood. I started by pulling up from the back:
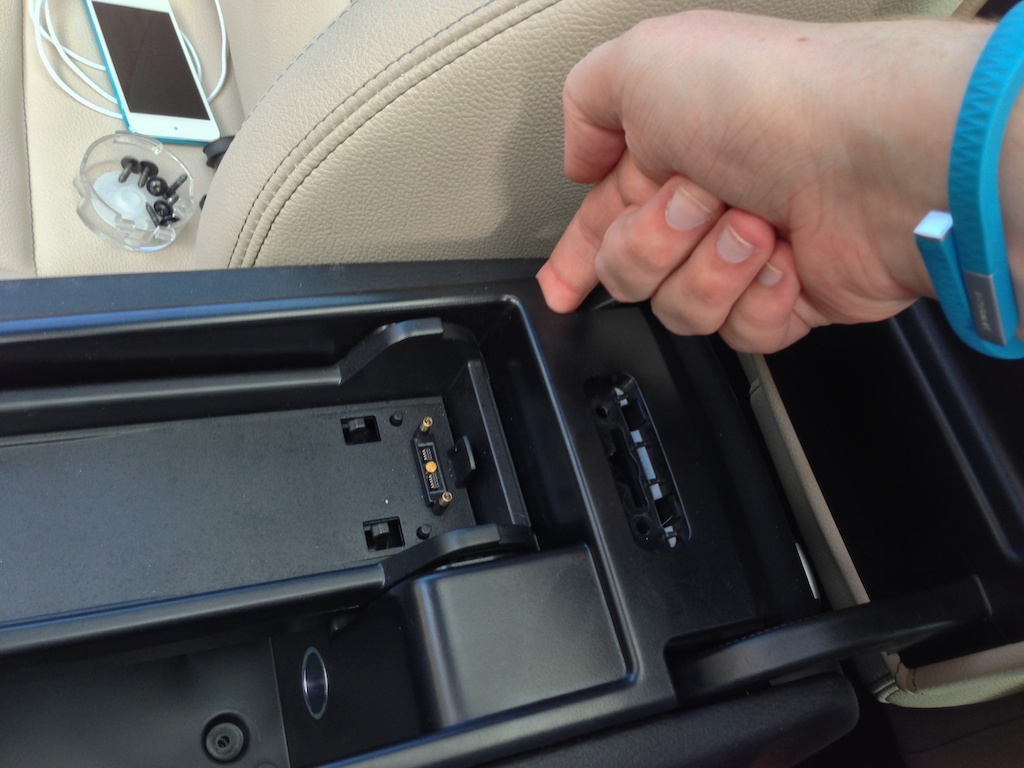
Then once that lifts up a bit pulling from the front:

And once that part snapped off pulled it straight out. It does take a fair amount of force to get it to let go.
 Step 4
Next we need to detach the cradle from the cubby. Start by removing the T10 screw on the passenger side (in a LHD vehicle at least). Once you remove the screw, set the plastic disc aside.

Then do the same thing on the other side. It's inset quite a bit, but not too difficult to get to. There's another plastic disc, this one a bit larger, to keep on this side as well.
Then you should be able to pull the cradle up, you may have to unhook it one side at a time. There are little gear things that can pop out pretty easily and get lost, you can see it in the photo above with an 'R' stamped on it. One of mine fell into the abyss that is my center console, never to be seen again. Try to keep track of them if they do come out, as they're easy to snap back in.
 Step 5
Time to take apart the cradle so we can get the wires out. Flip it upside down to access and remove the 6 T10 screws on the back.

Once the screws are undone the two halves come apart easily. Push the bottom half towards the back.

Next we need to gain access to the middle part where the electronics are. There are some tabs to push on with the small flathead. They let go pretty easily.
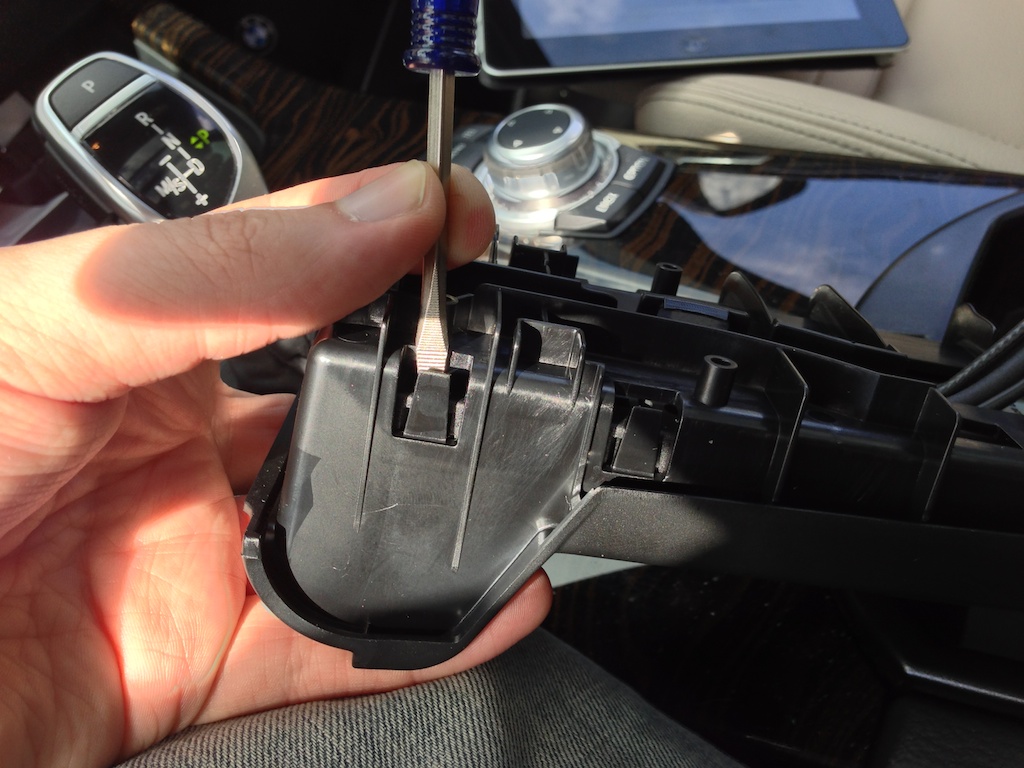
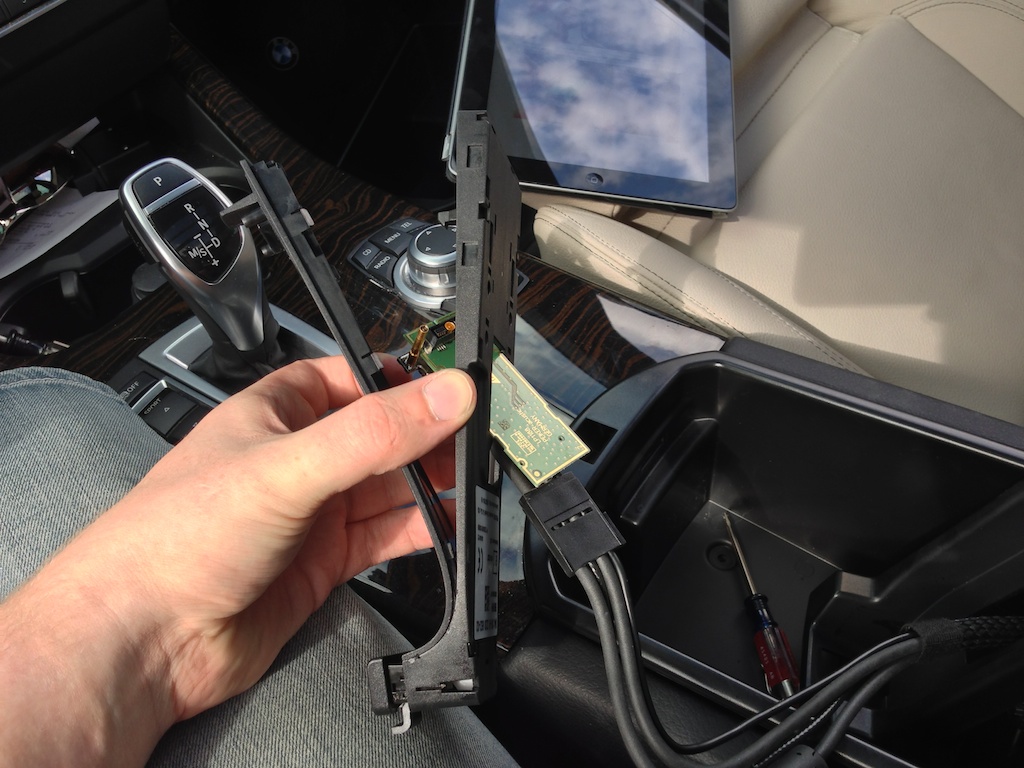
Then you're left with the thin part that houses all the electronics.
 Step 6
Now we need to gain access to the electronics inside this part. This portion is a little difficult, as there are a lot of small clips holding this together. Start towards the front and work your way around and back.

You don't need to get this all the way apart, just back enough so you can get to the insides. Note that there are a bunch of little springs and stuff inside here just waiting to come flying out, so try to hold it steady and don't flip it upside down once you start getting it apart.

Once you get it mostly unclipped, you can remove the circuit board by rotating it sideways and pulling it out.
Really the only springs I had issues with were these front ones. They go like this:
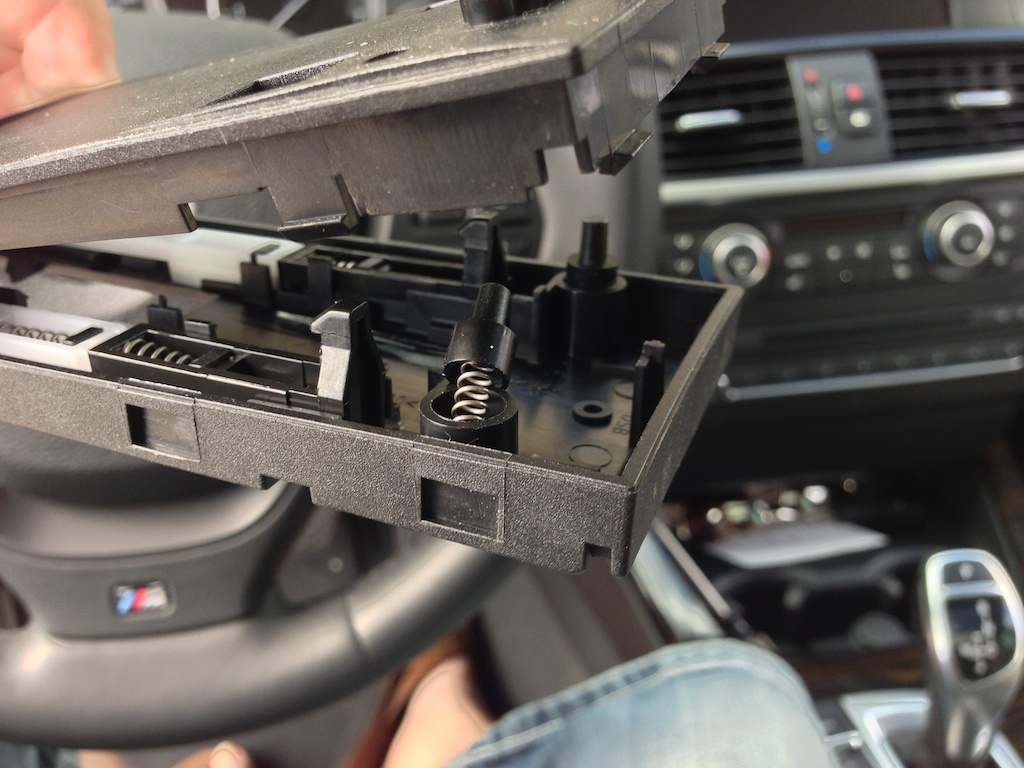
Make sure they're aligned and snap it all back together as soon as you get the circuit board out, so you don't lose anything else.
Step 7
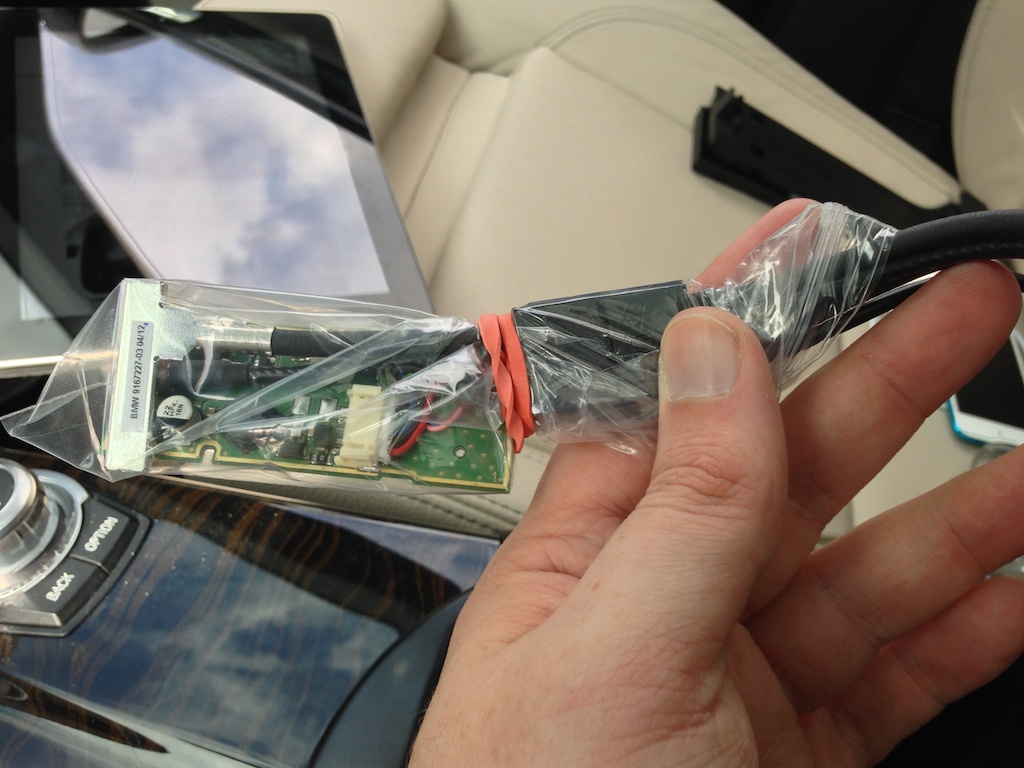
Even though it looks like that antenna connection can come apart, I don't think it can. I didn't want to break mine, so I decided to just wrap it instead so we can stuff it where it will be out of the way. It's mostly plastic and carpet in there, but better safe than sorry.

I took a small snack ziploc baggie and put it in there and wrapped it around a bit. Then I just put a rubber band on the bottom to hold it in place. Good enough.
 Step 8
Time to remove the cubby. This is good to do even if you aren't replacing it with a new one so you have better access to the area below it so you can stuff away the circuit board.
Remove all the plastic pieces for the cradle so it's just the wire and the cubby.

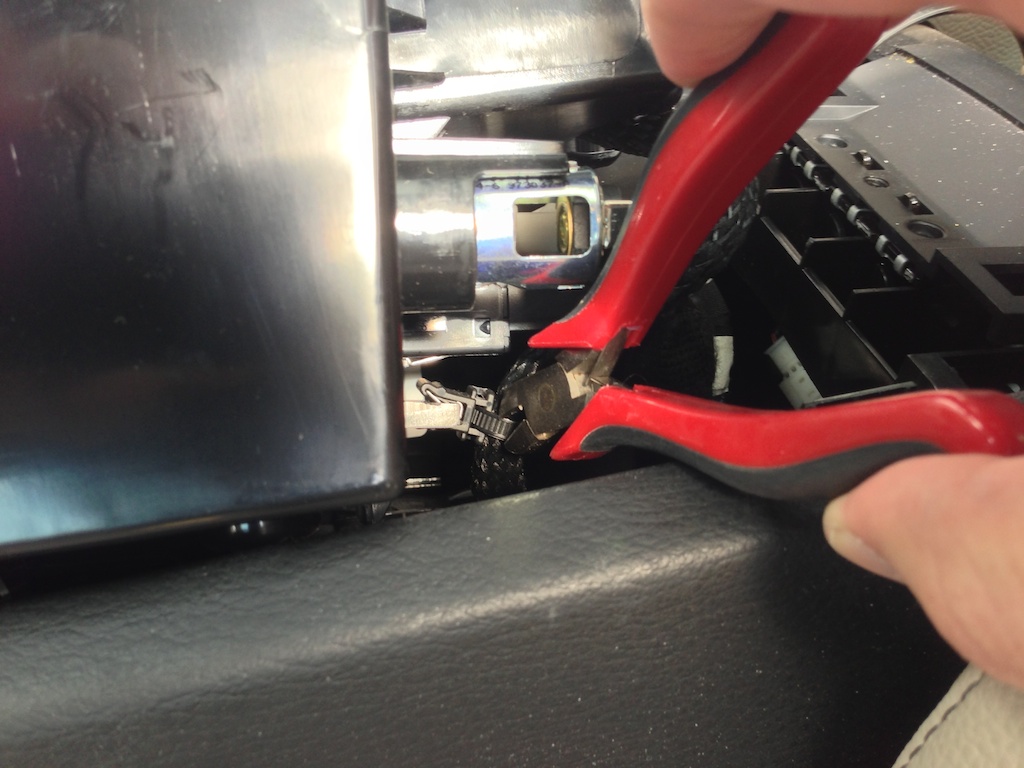
You'll notice the cubby doesn't come up very far. This is because the cradle wire is zip tied to the bottom of the cubby.
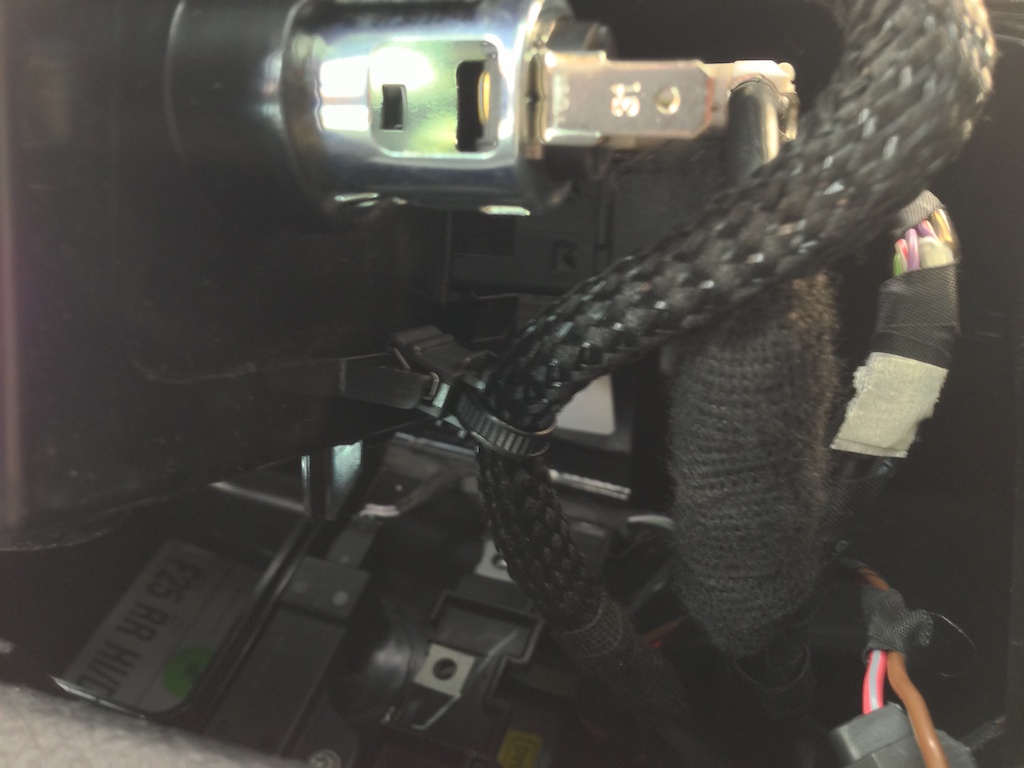
Use your small nippers to clip this zip tie.
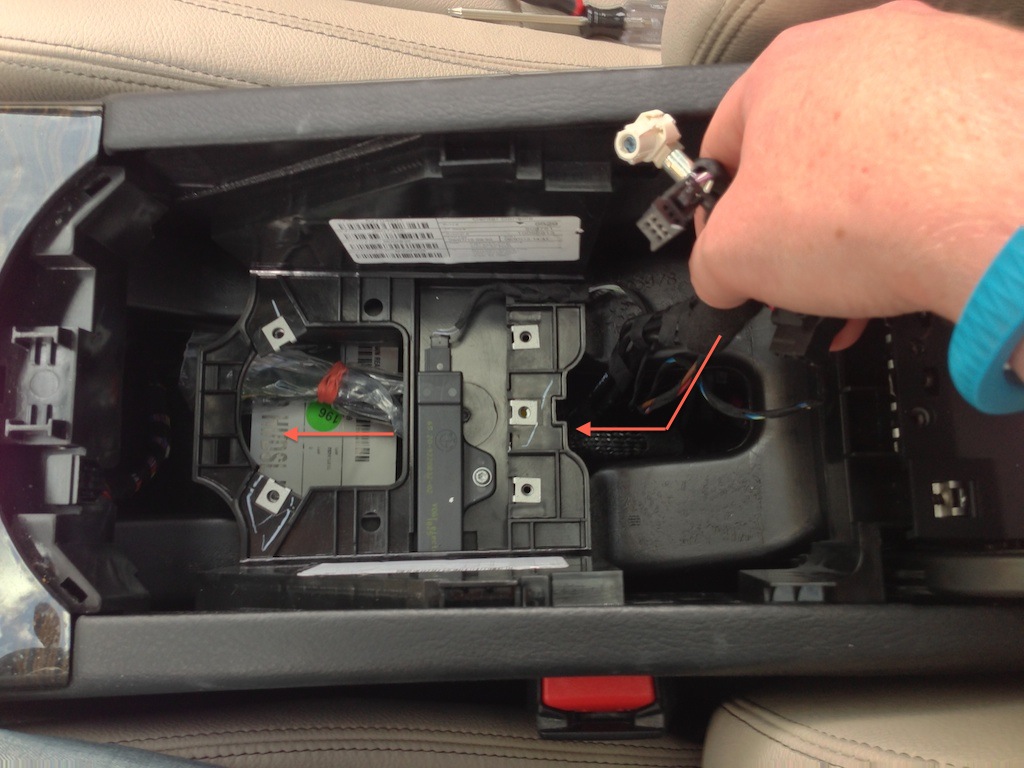
This will give you a lot more wire clearance to pull out the cubby and see what's back there. You have 3 wires, the cig lighter, the USB and the aux.

They all remove pretty easily.
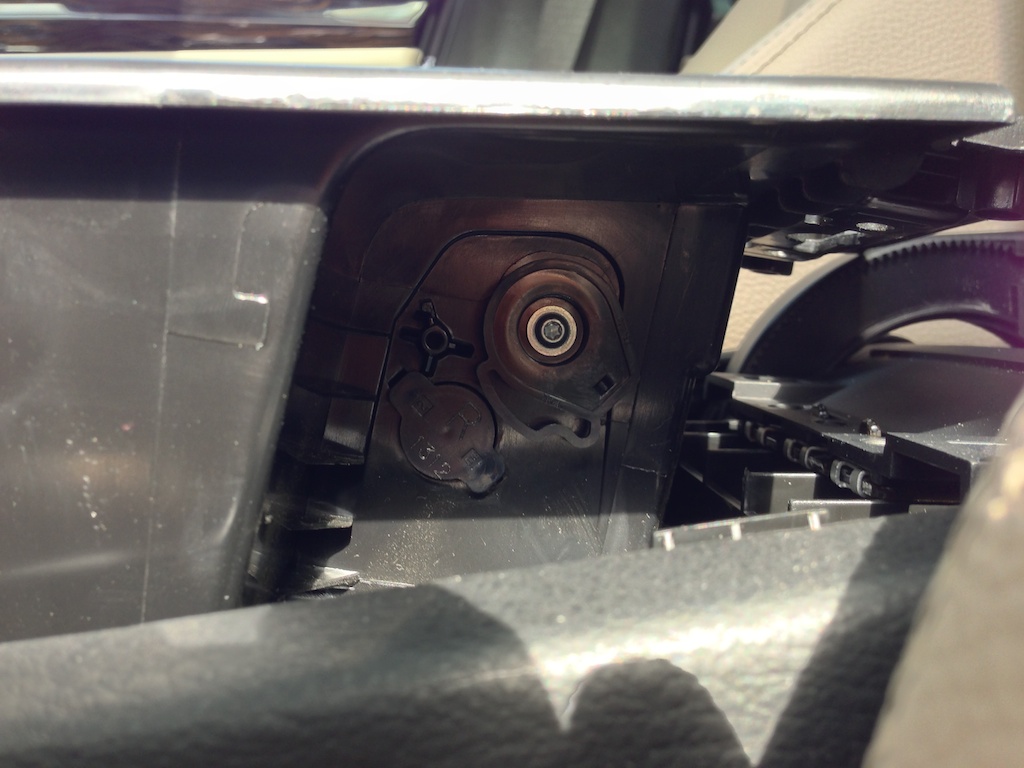
Once you've unhooked them all, lift the cubby out and away, and you're left with just the carpet and HVAC ducting underneath.
Step 9
Time to hide away the circuit board and extra cabling. We need to put it where it won't be in the way when we reinstall the cubby. Hold the other wires up and away and push the circuit board in and through this little tunnel underneath. It's a bit of a tight fit, but it does go.
 Step 10
Now it's time to transfer the couple plugs from the old cubby to the new one. Obviously, this step is only necessary if you're replacing the cubby. If you aren't feel free to skip ahead to step 12.
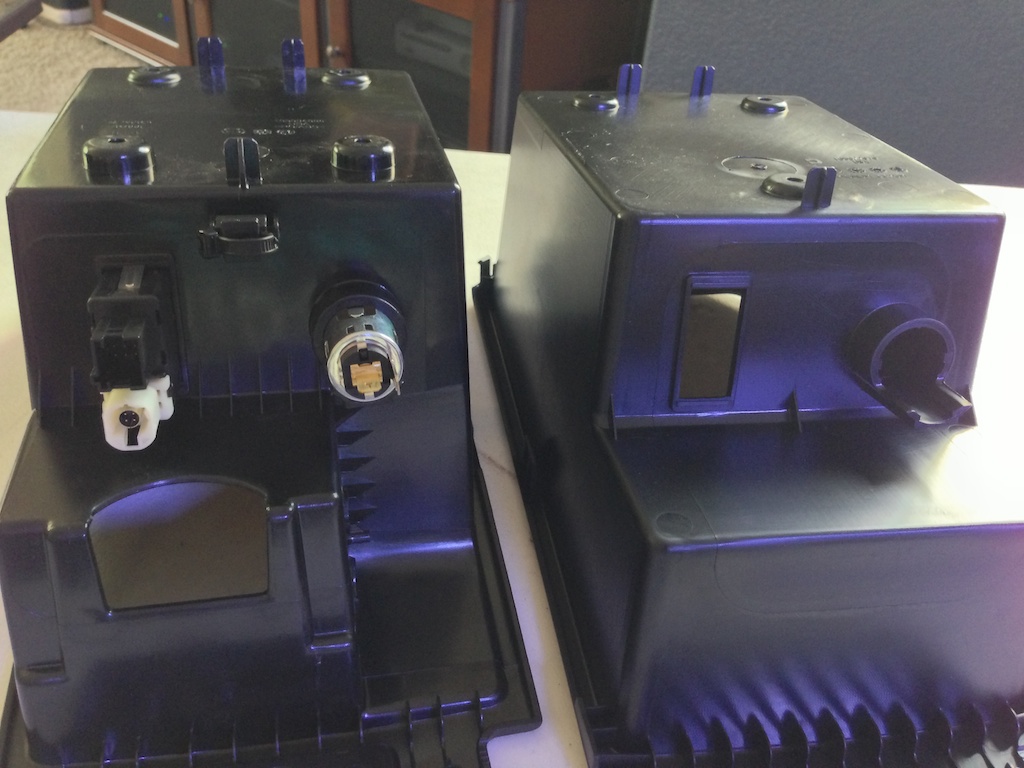
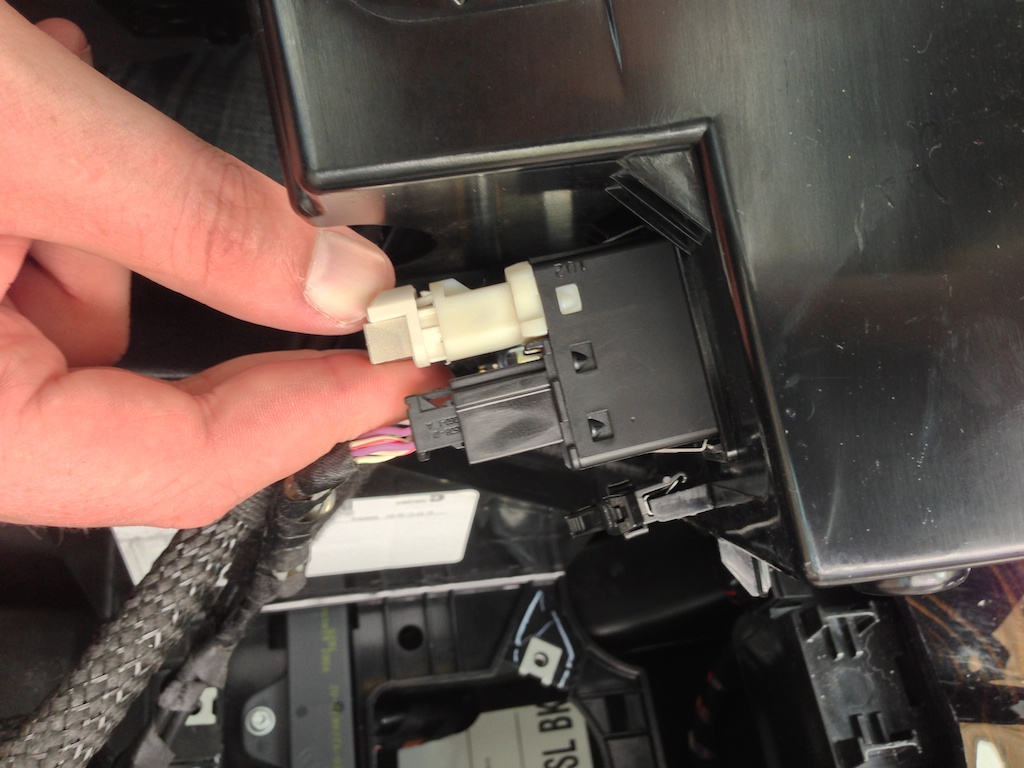
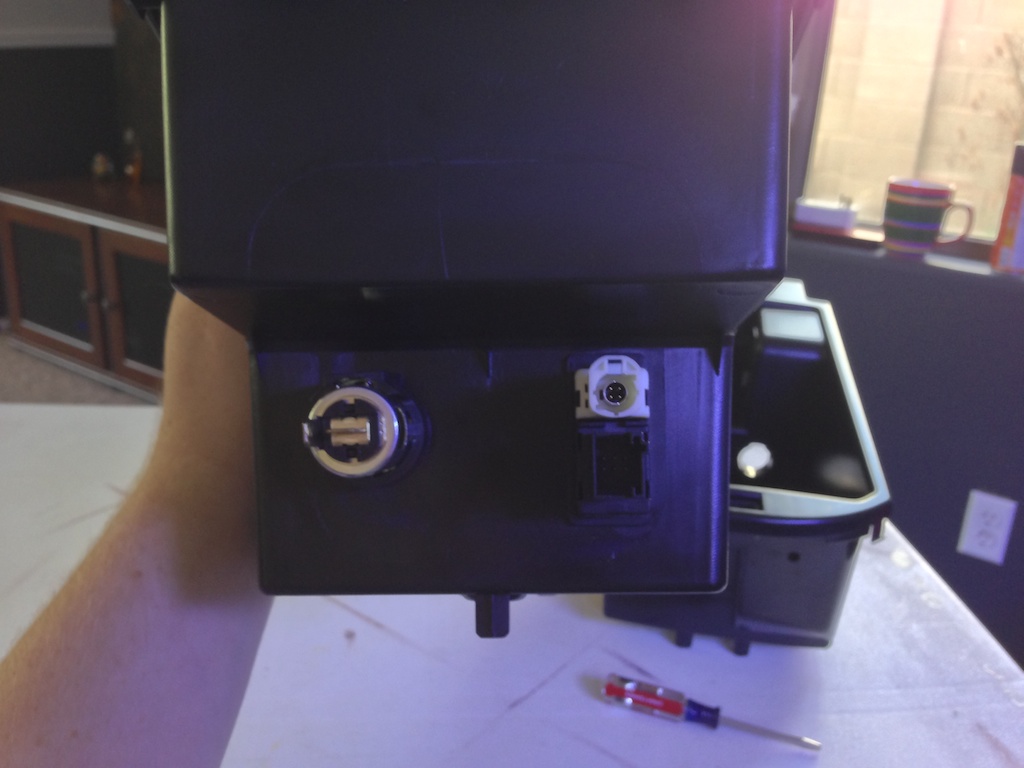
These were a bit of a pain to remove, but they did come out. The USB part has two metal spring tabs, just push down on those and it should come out. I had to push pretty hard on the top tab. The cig lighter was tricky, there are two very small tabs that you need to push against with your small screwdriver. I've taken a couple pictures of the plastic tab and of the metal opening where the tab goes:
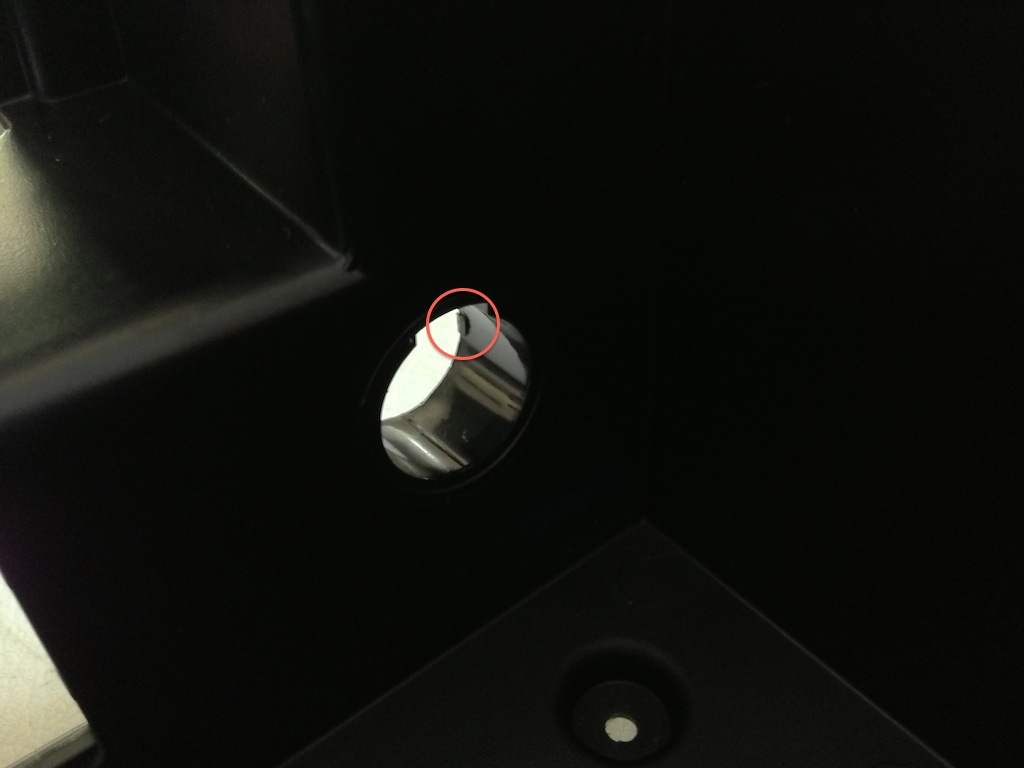
Which fits in here:

Just push those tabs from inside the lighter one side at a time and you should be able to slide it out. Then they both just pop into the new cubby. They go in quite a bit easier than they come out.
 Step 11
Next, we need to make a minor modification to the new cubby so it fits. I'm not sure why the mounting tabs are a little different, but they are. I used my Dremel and a cutoff wheel to trim away some plastic between the tab and the cubby. You could probably use some flush cuts or something as well, but it was pretty quick and painless if you have a Dremel. This is towards the back. Just compare your new cubby with this photo and it should be pretty easy to see what you need to do.

You can leave the tab in place, just trim the plastic up to the backside of the cubby. Here's the other side.
 Step 12
Once it's trimmed we're in the home stretch. If you aren't replacing the cubby, you can resume here as well. Just plug in the cig lighter and the USB/aux harnesses, and get everything in place. I found it was best to snap in the back first and then the front.

The replacement cubby only has 3 screws in the bottom for some reason instead of the 4 like before, but the vehicle has the holes for both kinds. Replace the 3/4 T20 screws in the bottom, and then put back the false rubber floor.
That's it!
Finishing up
You can basically reassemble the old cubby (if you've replaced it) or just the phone cradle (if you didn't) to keep all your excess parts together in case you want to put the cradle back in some day. You should have these parts left over once you're all done if you replaced the cubby:
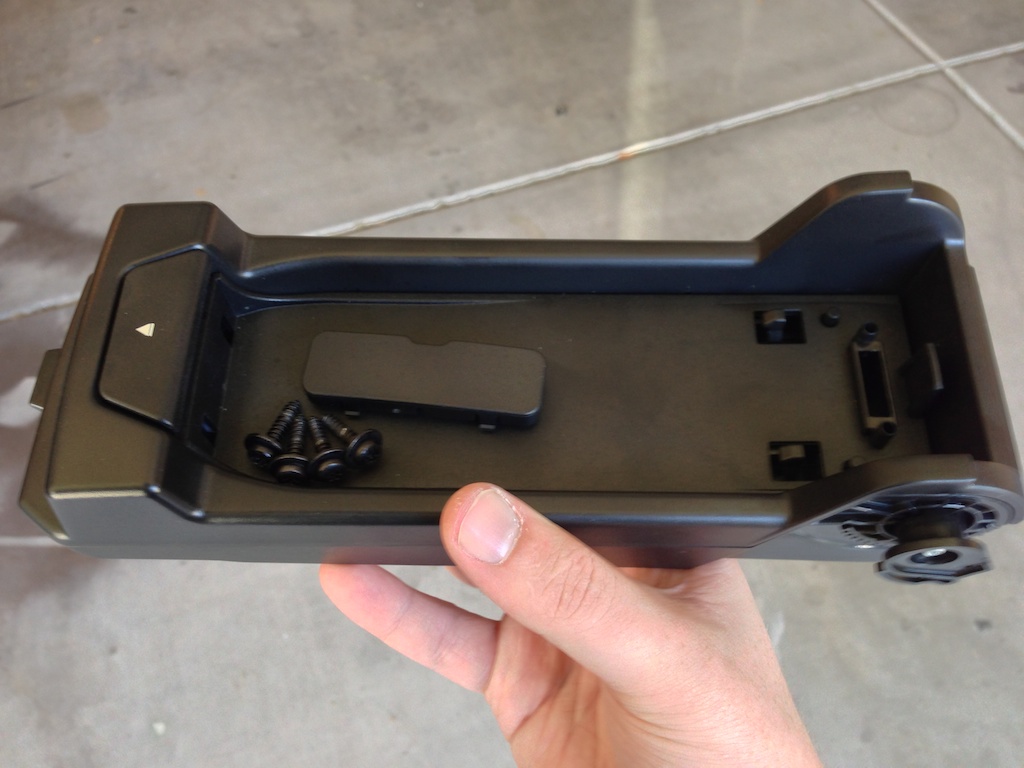
You can reinstall the side T10 screws and the little plastic discs in the old cubby, put 2 of the T20 screws under the plastic cover and snap that in place, and then you'll just be left with 2 T20 screws that can hang out in the storage area.
Then just stick that away in storage and keep it around in case you want to put it back. Or throw it away, you know, whatever.