I just got around to installing the Walbro F90000274 fuel pump I bought to upgrade my LPFP. It was under $120 for everything needed, and it pretty much drops right in. The F90000274 is the high pressure version of the F90000267. It probably won't matter unless you have LPFP control, but it can't hurt to have the extra overhead capacity.
I decided to do the upgrade when I discovered that the Pure Stage 2 would sag the HPFP to the degree that it would throw the code for HPFP pressure being too low. The new LPFP has significantly mitigated that. Without it, I'd constantly run into that code on highly loaded single gear pulls, and see it or feel it occassionally on multigear pulls. I theorized that the LPFP might be starving the HPFP, and that does appear to be the case. The new pump has essentially eliminated the HPFP codes.
5th gear pull with E25 on old fuel pump - 91 octane 2H 15 psi map. It threw a drivetrain error on this pull.:
http://www.bootmod3.net/log?id=5a4e8aaed10b432fd3894a5e
Here's another E25 5th gear pull with the new pump. This was with the 93 octane 2H tune targeting 17 psi. Look at the WOT section at the end of the log.:
http://www.bootmod3.net/log?id=5a57c3a7d10b431206902d2b
While there's still some HPFP sag, it's far less severe, recovers more quickly and isn't so bad that it throws a code or misfires. I'd definitely say the LPFP upgrade is a prerequisite for a big turbo setup.
Parts used:
$90 - Walbro F90000274 (112psi), rather than F90000267 (87psi)
$12 - Walbro 125-190 fuel pump strainer
$5 - Walbro TF0002516 10mm 160mm hose - use Walbro TF0002537 10mm 120mm hose instead, if you can find one.
miscellaneous - butt crimps or soldering setup, PTFE shrink tubing
$107 total
Here's my write up for this process. Proceed at your own risk. Don't blow yourself up or catch fire. Make sure your tank is below 1/4 full, don't start it for several hours before so that fuel pressure bleeds down.
First, remove the rear seat bottom cushion by grabbing along the underside of the front edge and giving it a hard, sharp jerk upward to unseat it from the clips holding it.
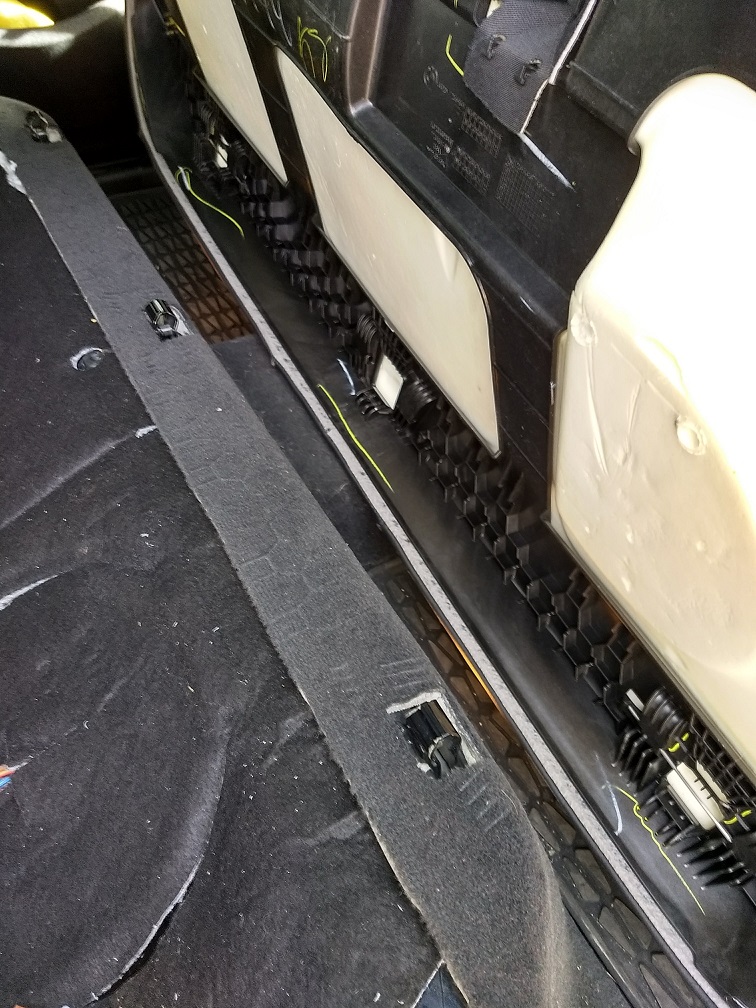
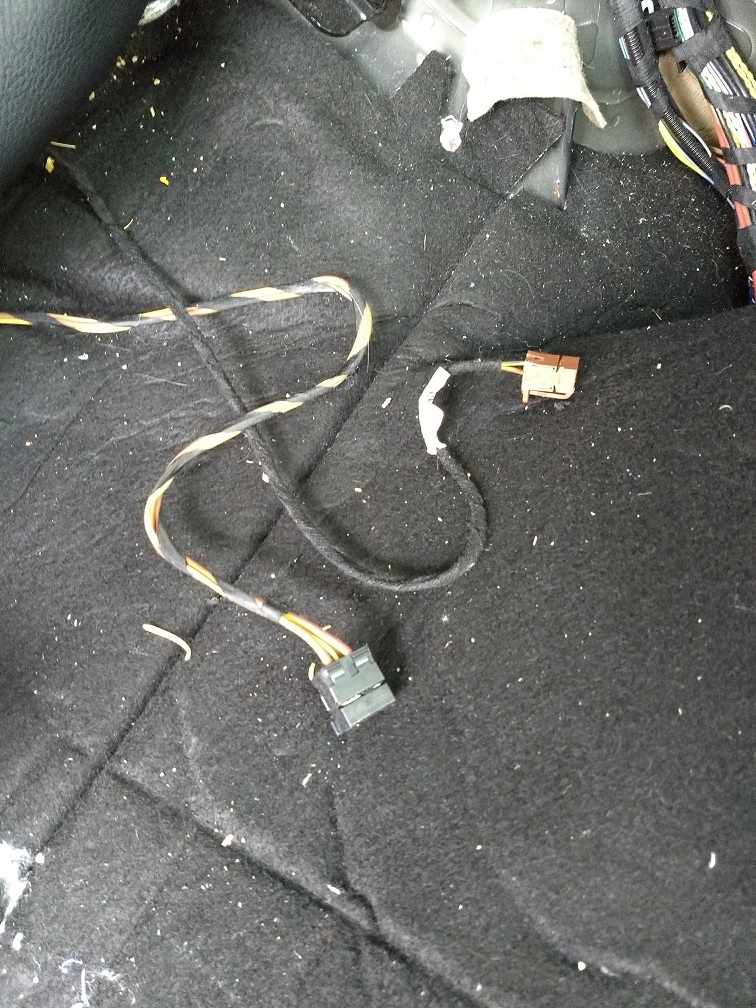
Next, disconnect the seat cushion heater electrical connections. Two of the three on each side must be disconnected. The other one on each side connects the heating elements to the junction and can remain.

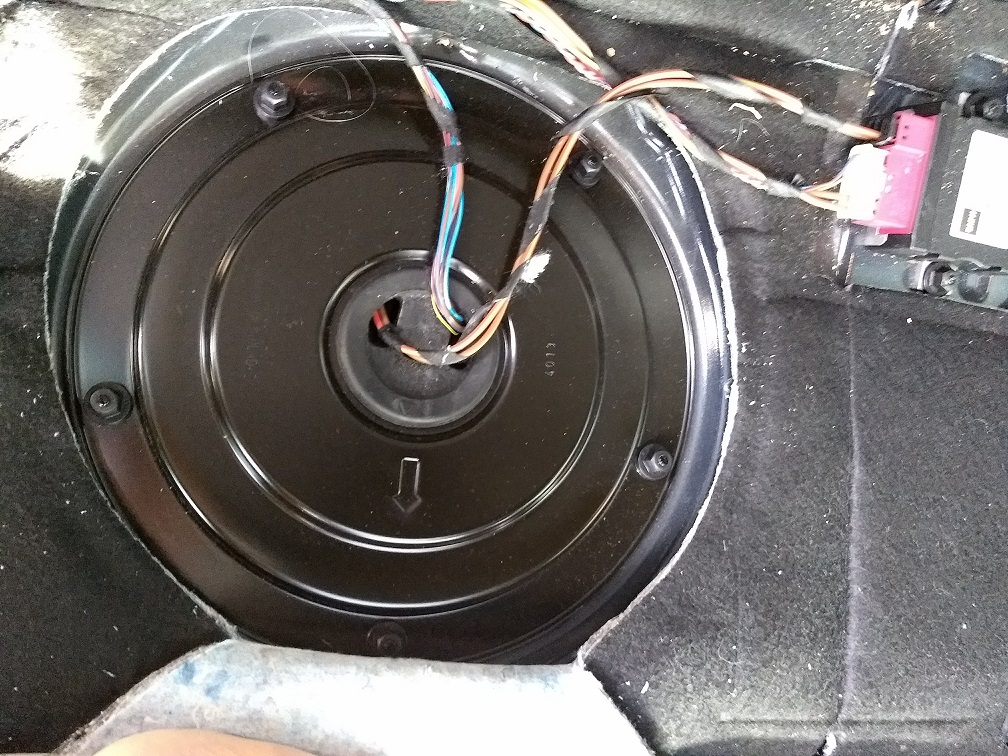
Next, use a 10mm socket to remove the cabin pump cover.
Now disconnect the two electrical connections. One is tab-depress, the other is slide lock.

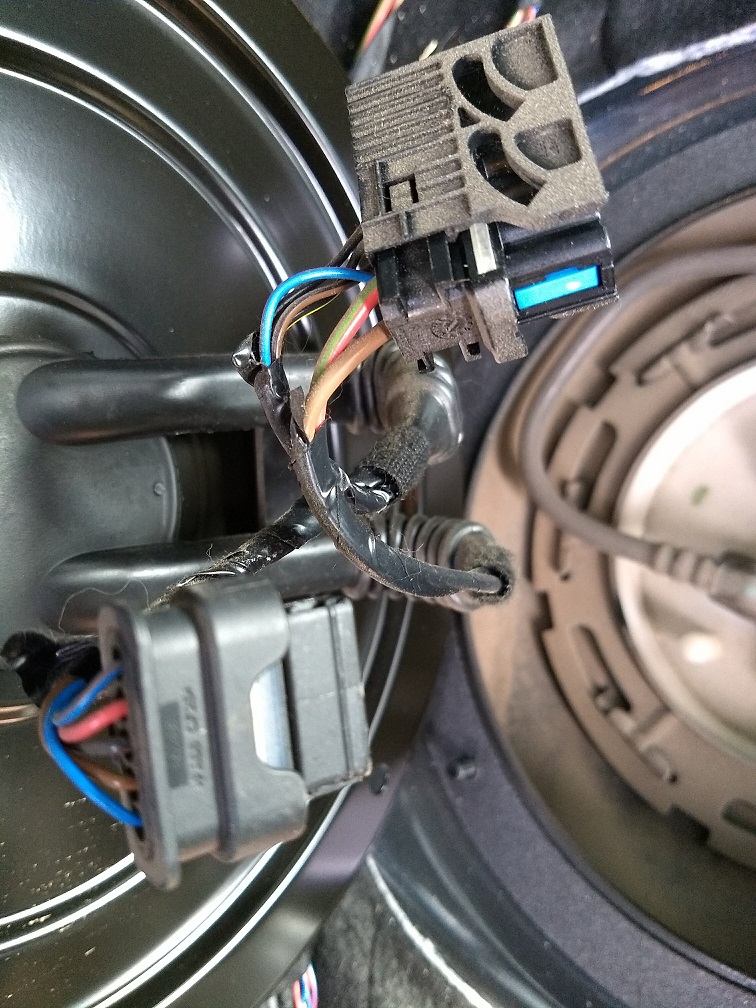
Disconnect the fuel disconnect by pressing and holding down the rectangular white disconnect button and gently pulling the connector off with a little wiggling. Maybe a teaspoon of fuel came out when I did this. Still, cover your interior with paper or rags to keep it from smelling like gas later.

Use a screwdriver and a mallet to knock the pump's twist lock ring counterclockwise until it's free. Careful not to damage anything else.
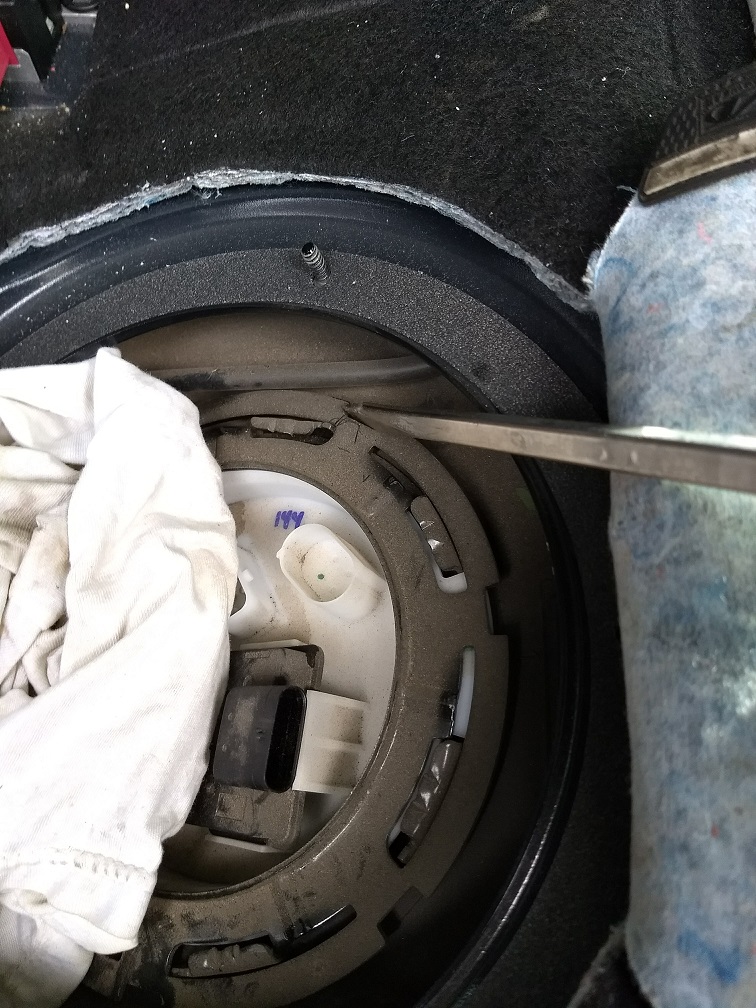
Slowly lift the pump out while turning it 90* clockwise. Remove the in-tank electrical connection and fuel quick disconnect from the pump housing. The electrical connection is the smaller one and releases with a single tab. The other, larger connector on the underside of the pump housing can stay.

Zip tie the two connectors together and set them back in the tank for easy access later.
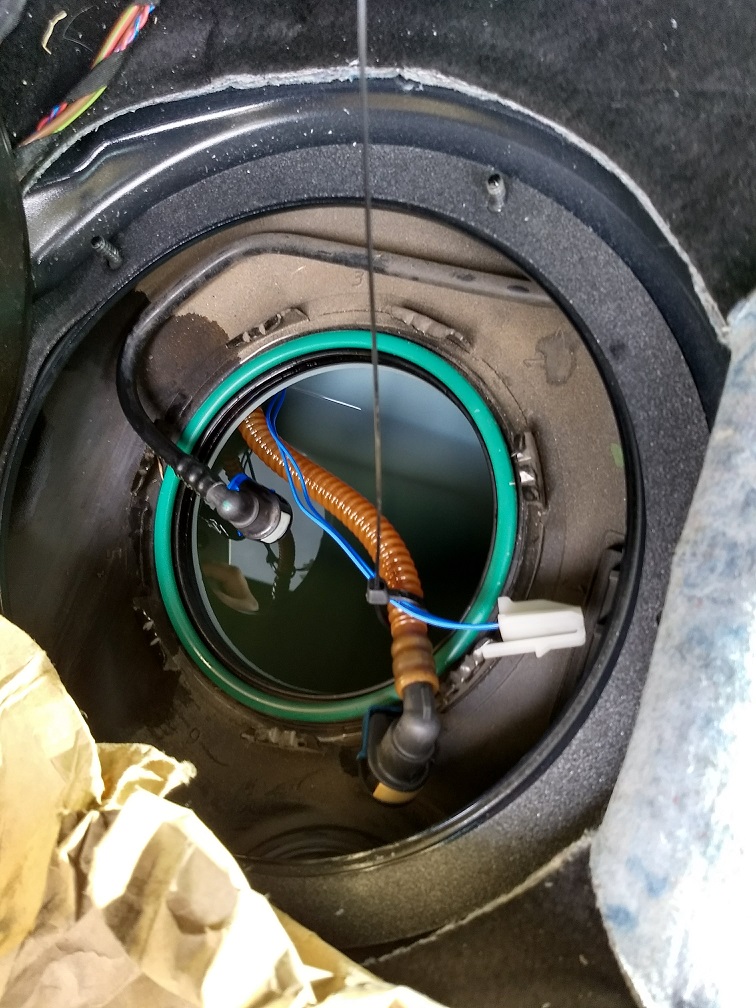
Put the cabin pump cover back on loosely for now to keep fumes down in the cabin.
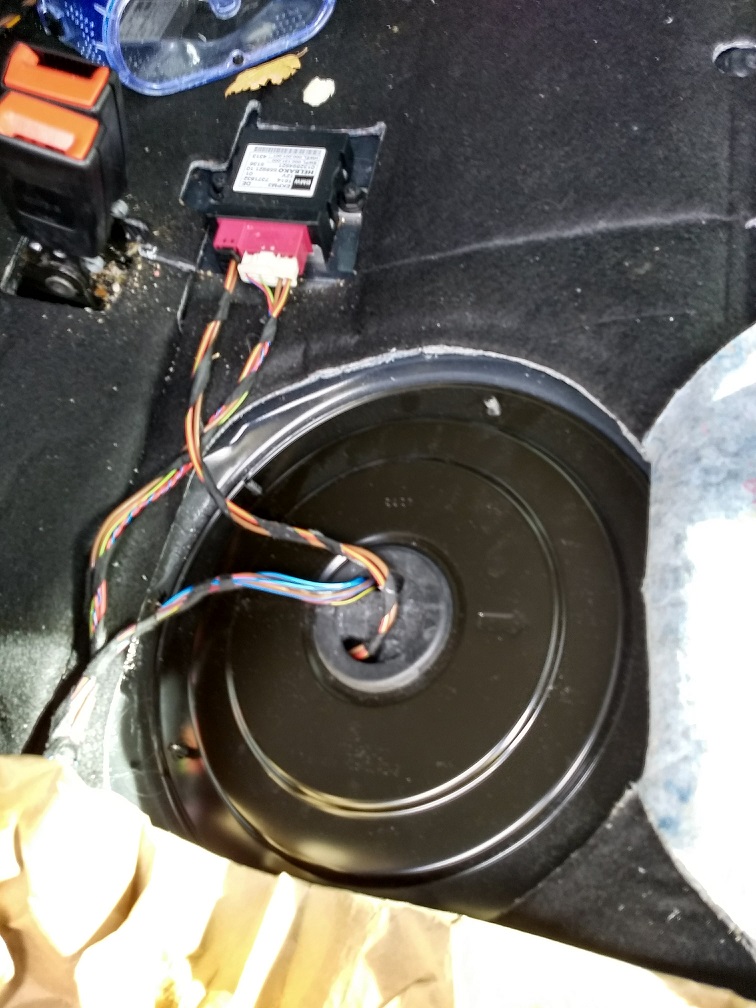
Remove the electrical terminal connections from the pump and the feed hose quick disconnect.

Remove the fuel pump bucket by unlatching the three tabbed prongs simultaneously. The upper assembly should pull free from the bucket and pump with carrier. Note that there will still be fuel present in the bucket and surge tank. Work somewhere gas won't foul things or present other dangers.

Remove the carrier and pump from the bucket. Make sure not to lose the small o-ring.

Disassemble the carrier by unclipping its three prongs.

Remove the strainer filter sock and then the pump from the lower carrier piece.
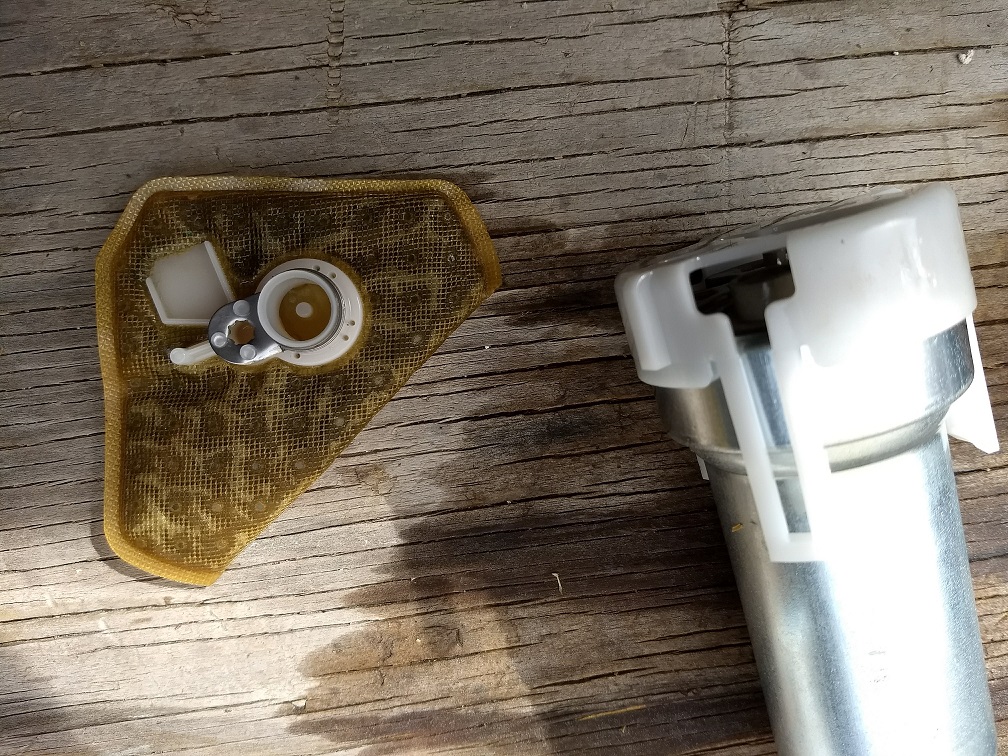
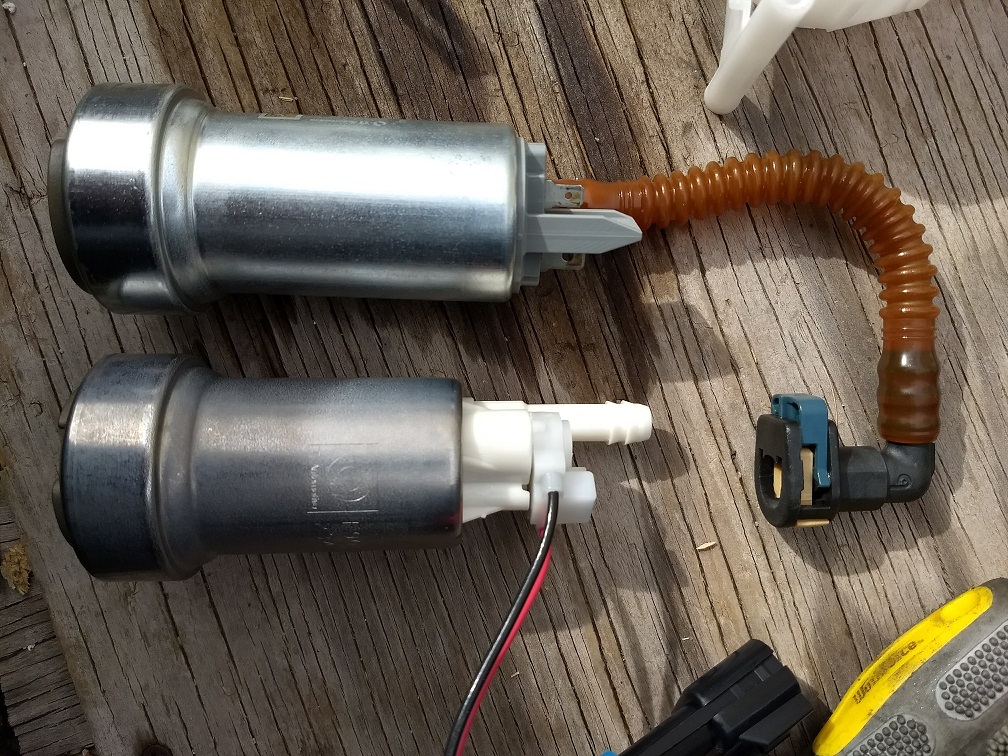
Here's a comparison of the old and new pumps. Note both are made by TI Automotive. Not sure what the flow rate of the stock one is.
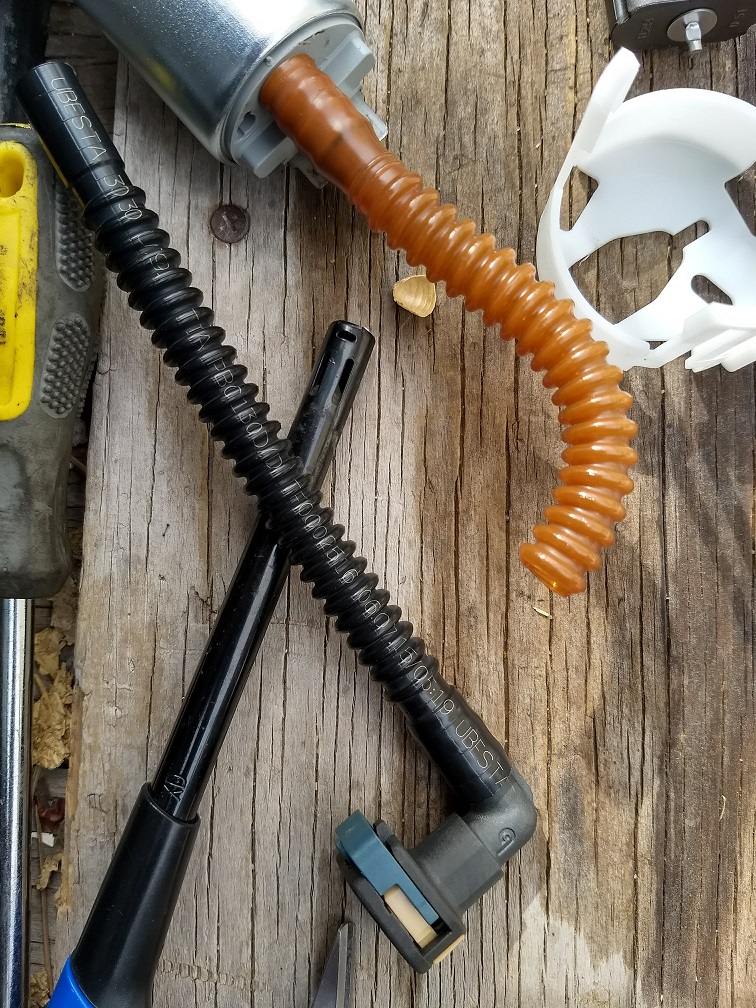
Cut and slice the old hose to free the quick connect fitting.

Install the quick connect fitting on the new 10mm hose.
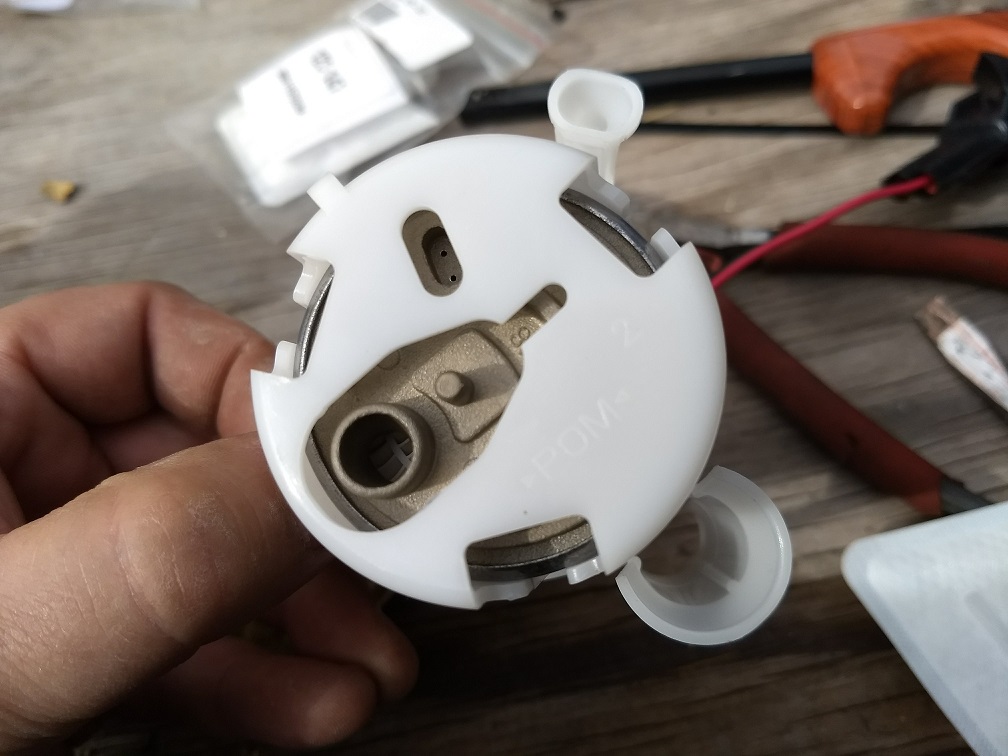
Reassemble the new pump in the carrier.

Make sure to correctly clock the lower portion of the carrier where the strainer attaches. Reinstall the new strainer.
Strip the housing wires to connect to the new pump
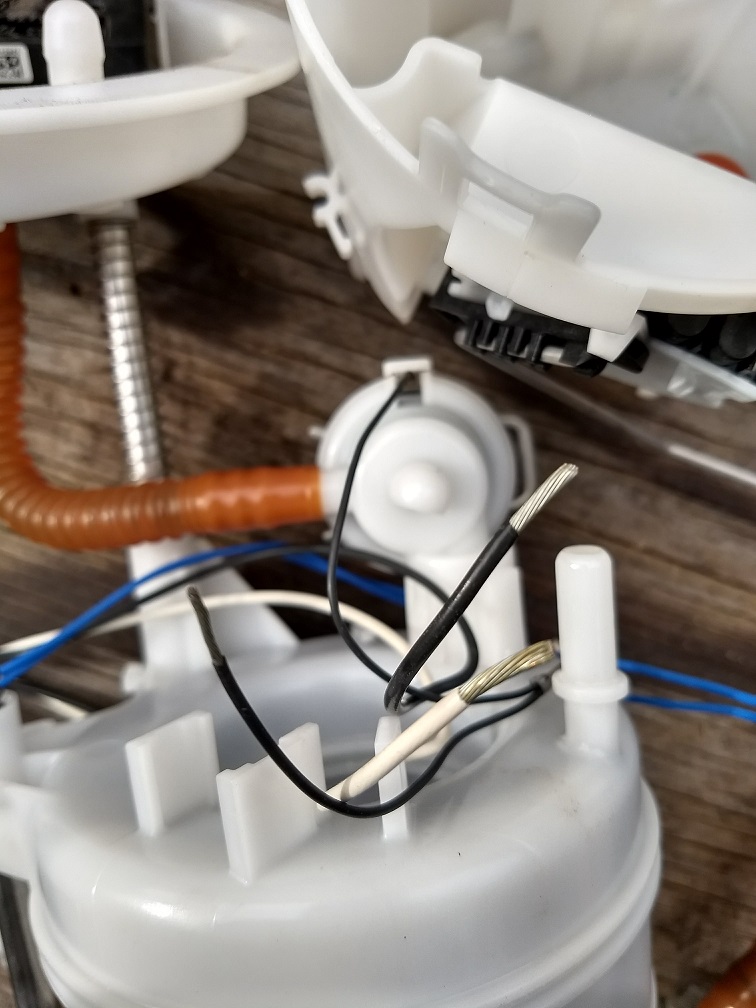
Cut the connector off of the new pump and crimp on some butt splice connectors. Optionally, you can solder and PTFE shrink tubing wrap them after reassembling. Don't solder near fuel!!!
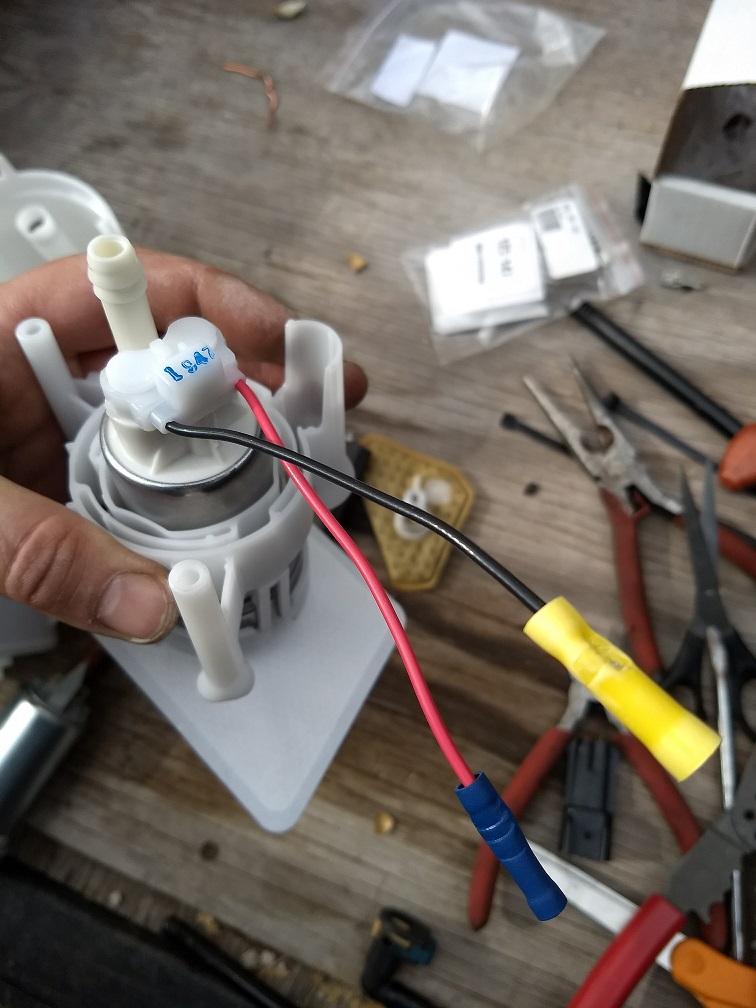
Install the hose onto the pump and reinstall the pump carrier into the bucket. Clock the hose quick connect fitting correctly for where it will attach.

Reinstall the bucket to the upper housing. Crimp or solder/wrap (use only fuel resistant PTFE shrink wrap) your electrical connections and reconnect the fuel quick connect fitting.

Reinstall the housing into the tank, reconnecting the in tank electrical connection and fuel quick connect. Reinstall the lock ring with the same screwdriver/hammer method. It might take a few tries to get it fully and properly seated.

After that, reconnect the external pump fuel fitting and electrical connections. Reinstall the seat cushion, being sure to reconnect the heating element electrical connection.
Start it up and enjoy!